How to publish a form and manage form accessibility
This article covers how to publish a form which includes providing basic information for your form and selecting the audience for your form. It also talks about managing form accessibility from the dashboard.
After creating a form using the form creator tool and deciding to make it into a template, you are now ready to publish your form.
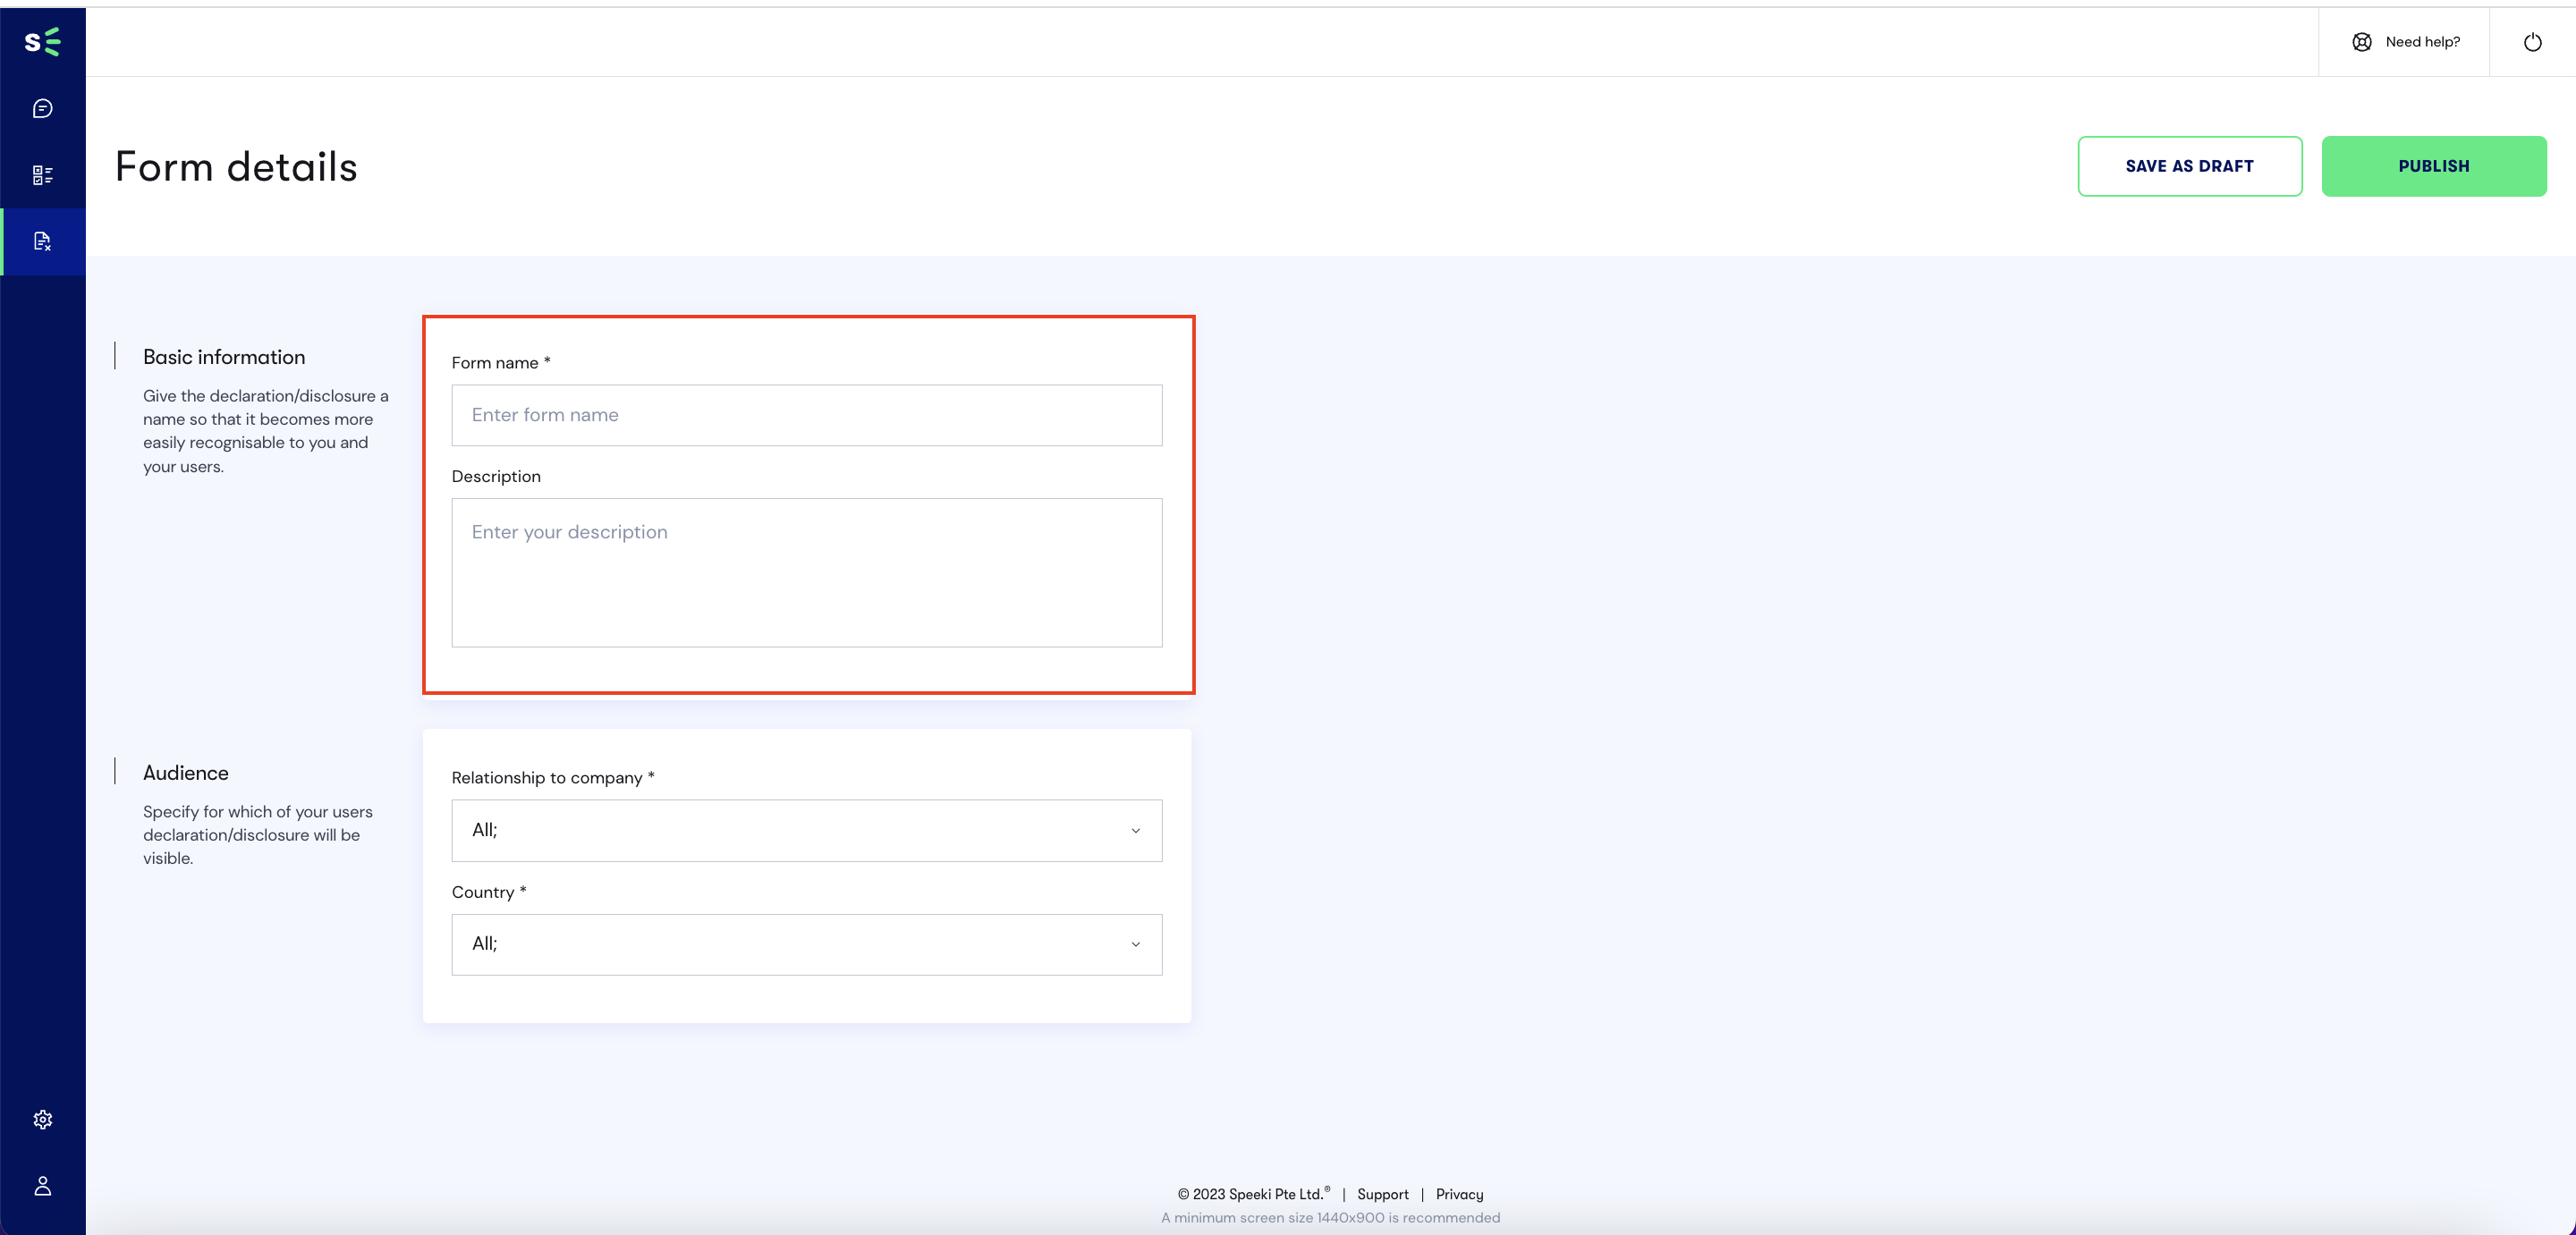
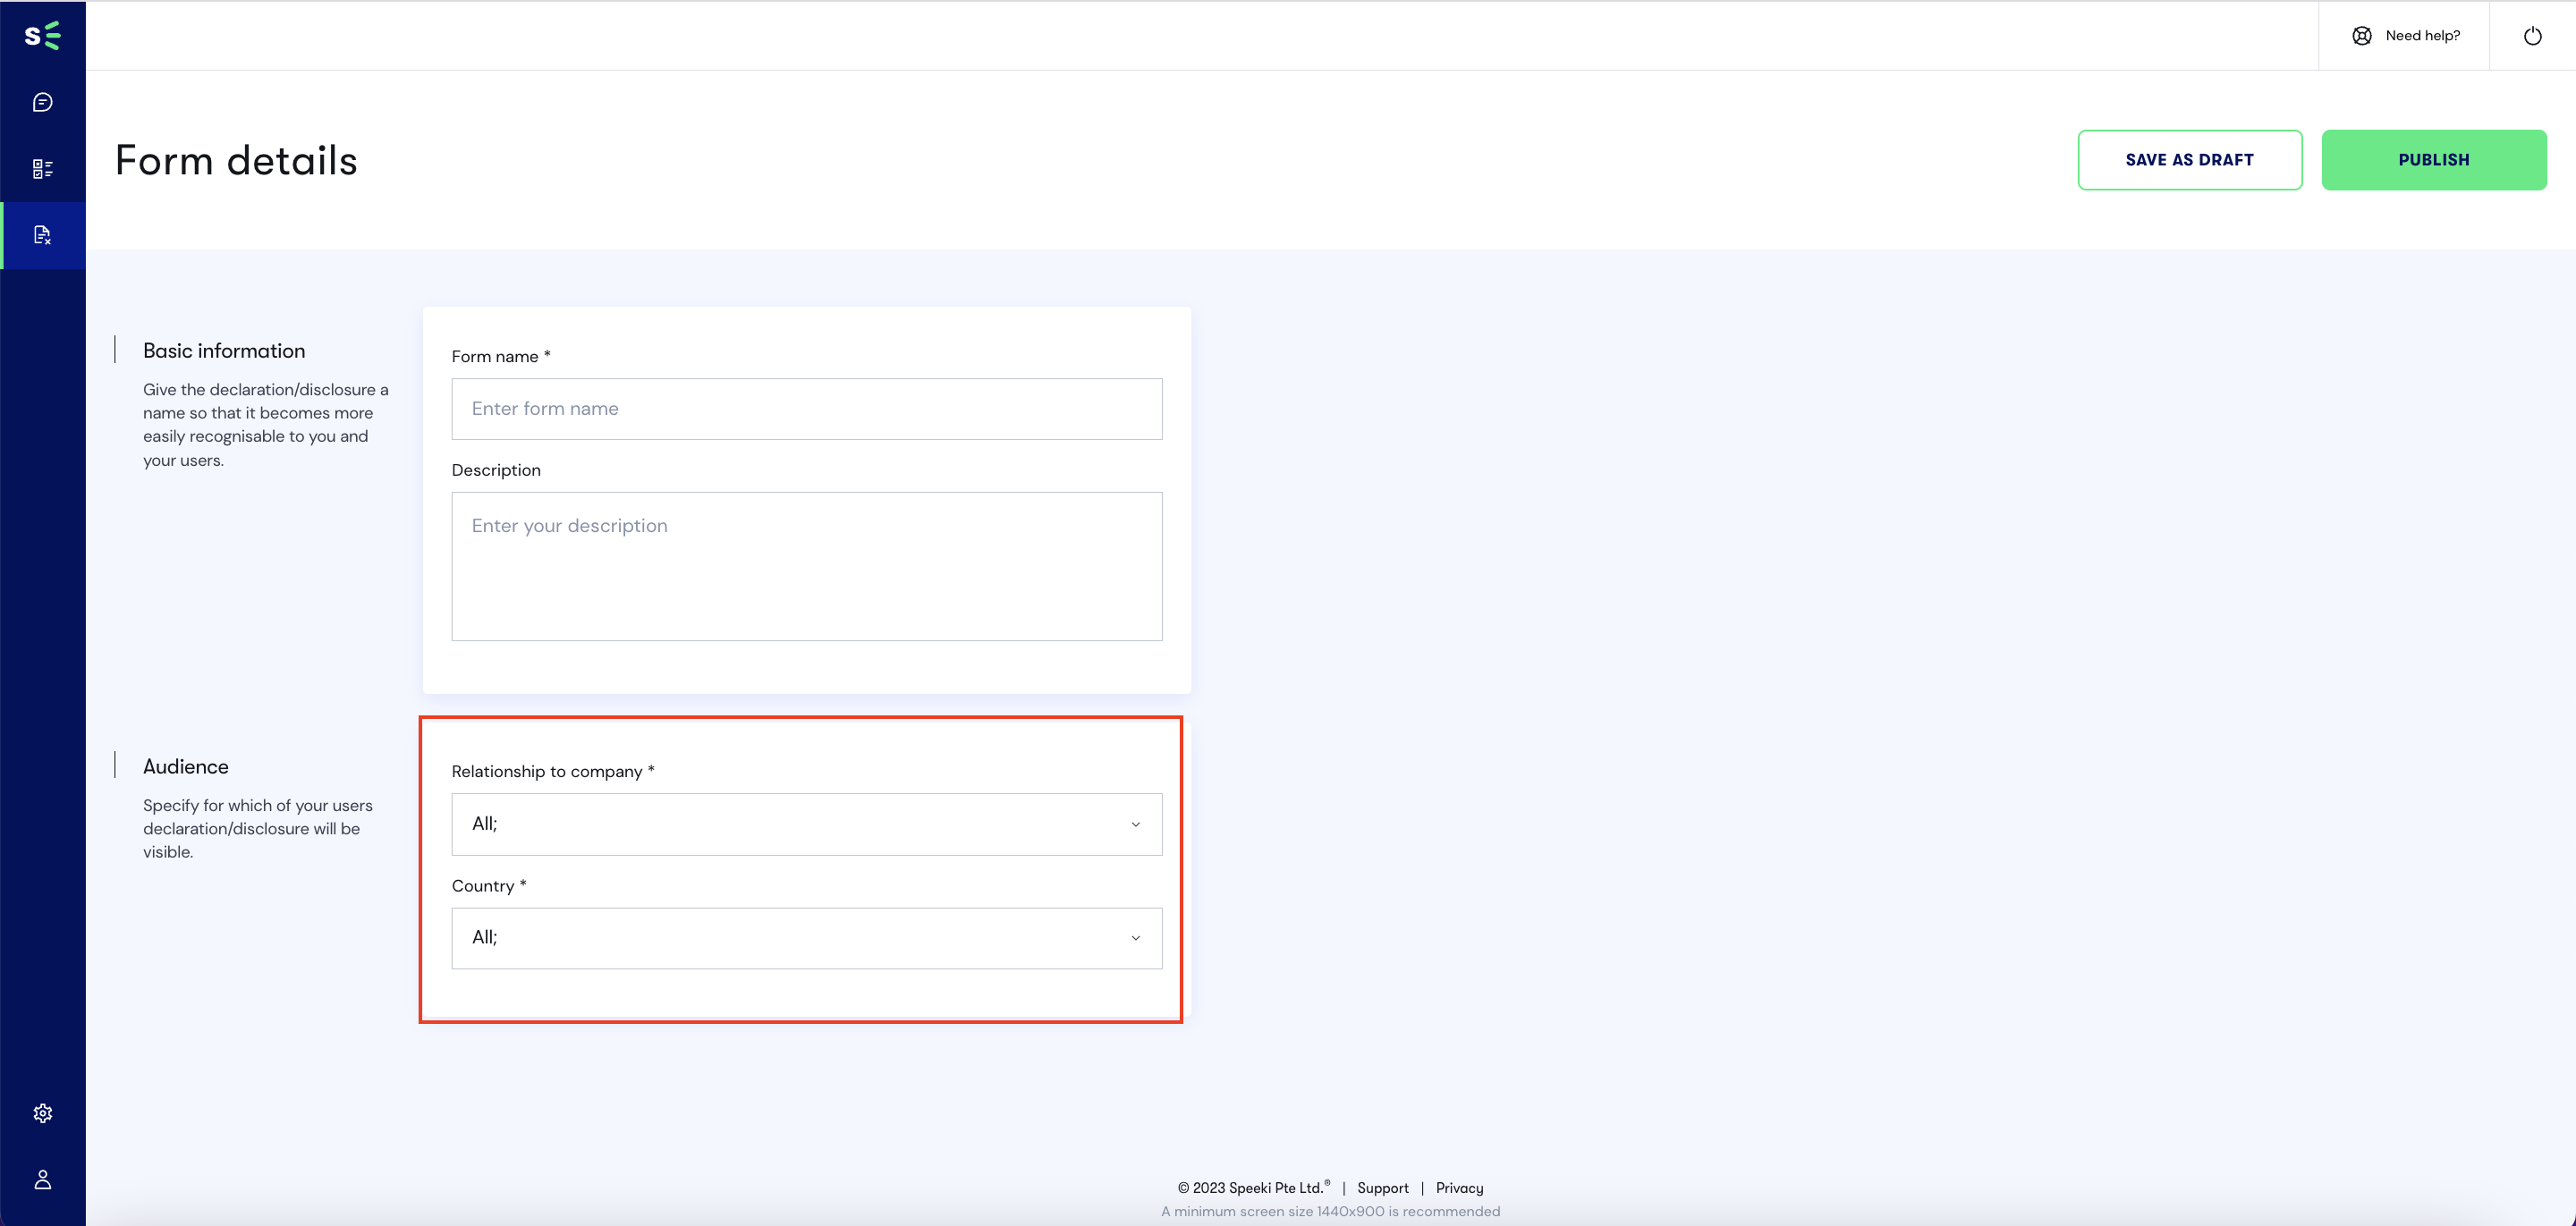
Form details page
The following information will be asked when publishing a form:
- Basic information and;
- Audience.
Basic information
Basic information will ask you to provide a unique Form name and form Description. Only the form name is a required field and the value inputted in it will be visible to the users as the name that appears in their Declare & Disclose forms list. On the other hand, the value you will input in the description will only be visible to you. Note that the description in basic information is different from the description fields in creating a form.
Audience
Audience will ask you to set the Relationship and Country of the users whom you are targeting to see your form.
Once you have provided the necessary information, you can proceed to publish the form by clicking on the Publish button. This action will allow your users to see the form under Declare & Disclose.

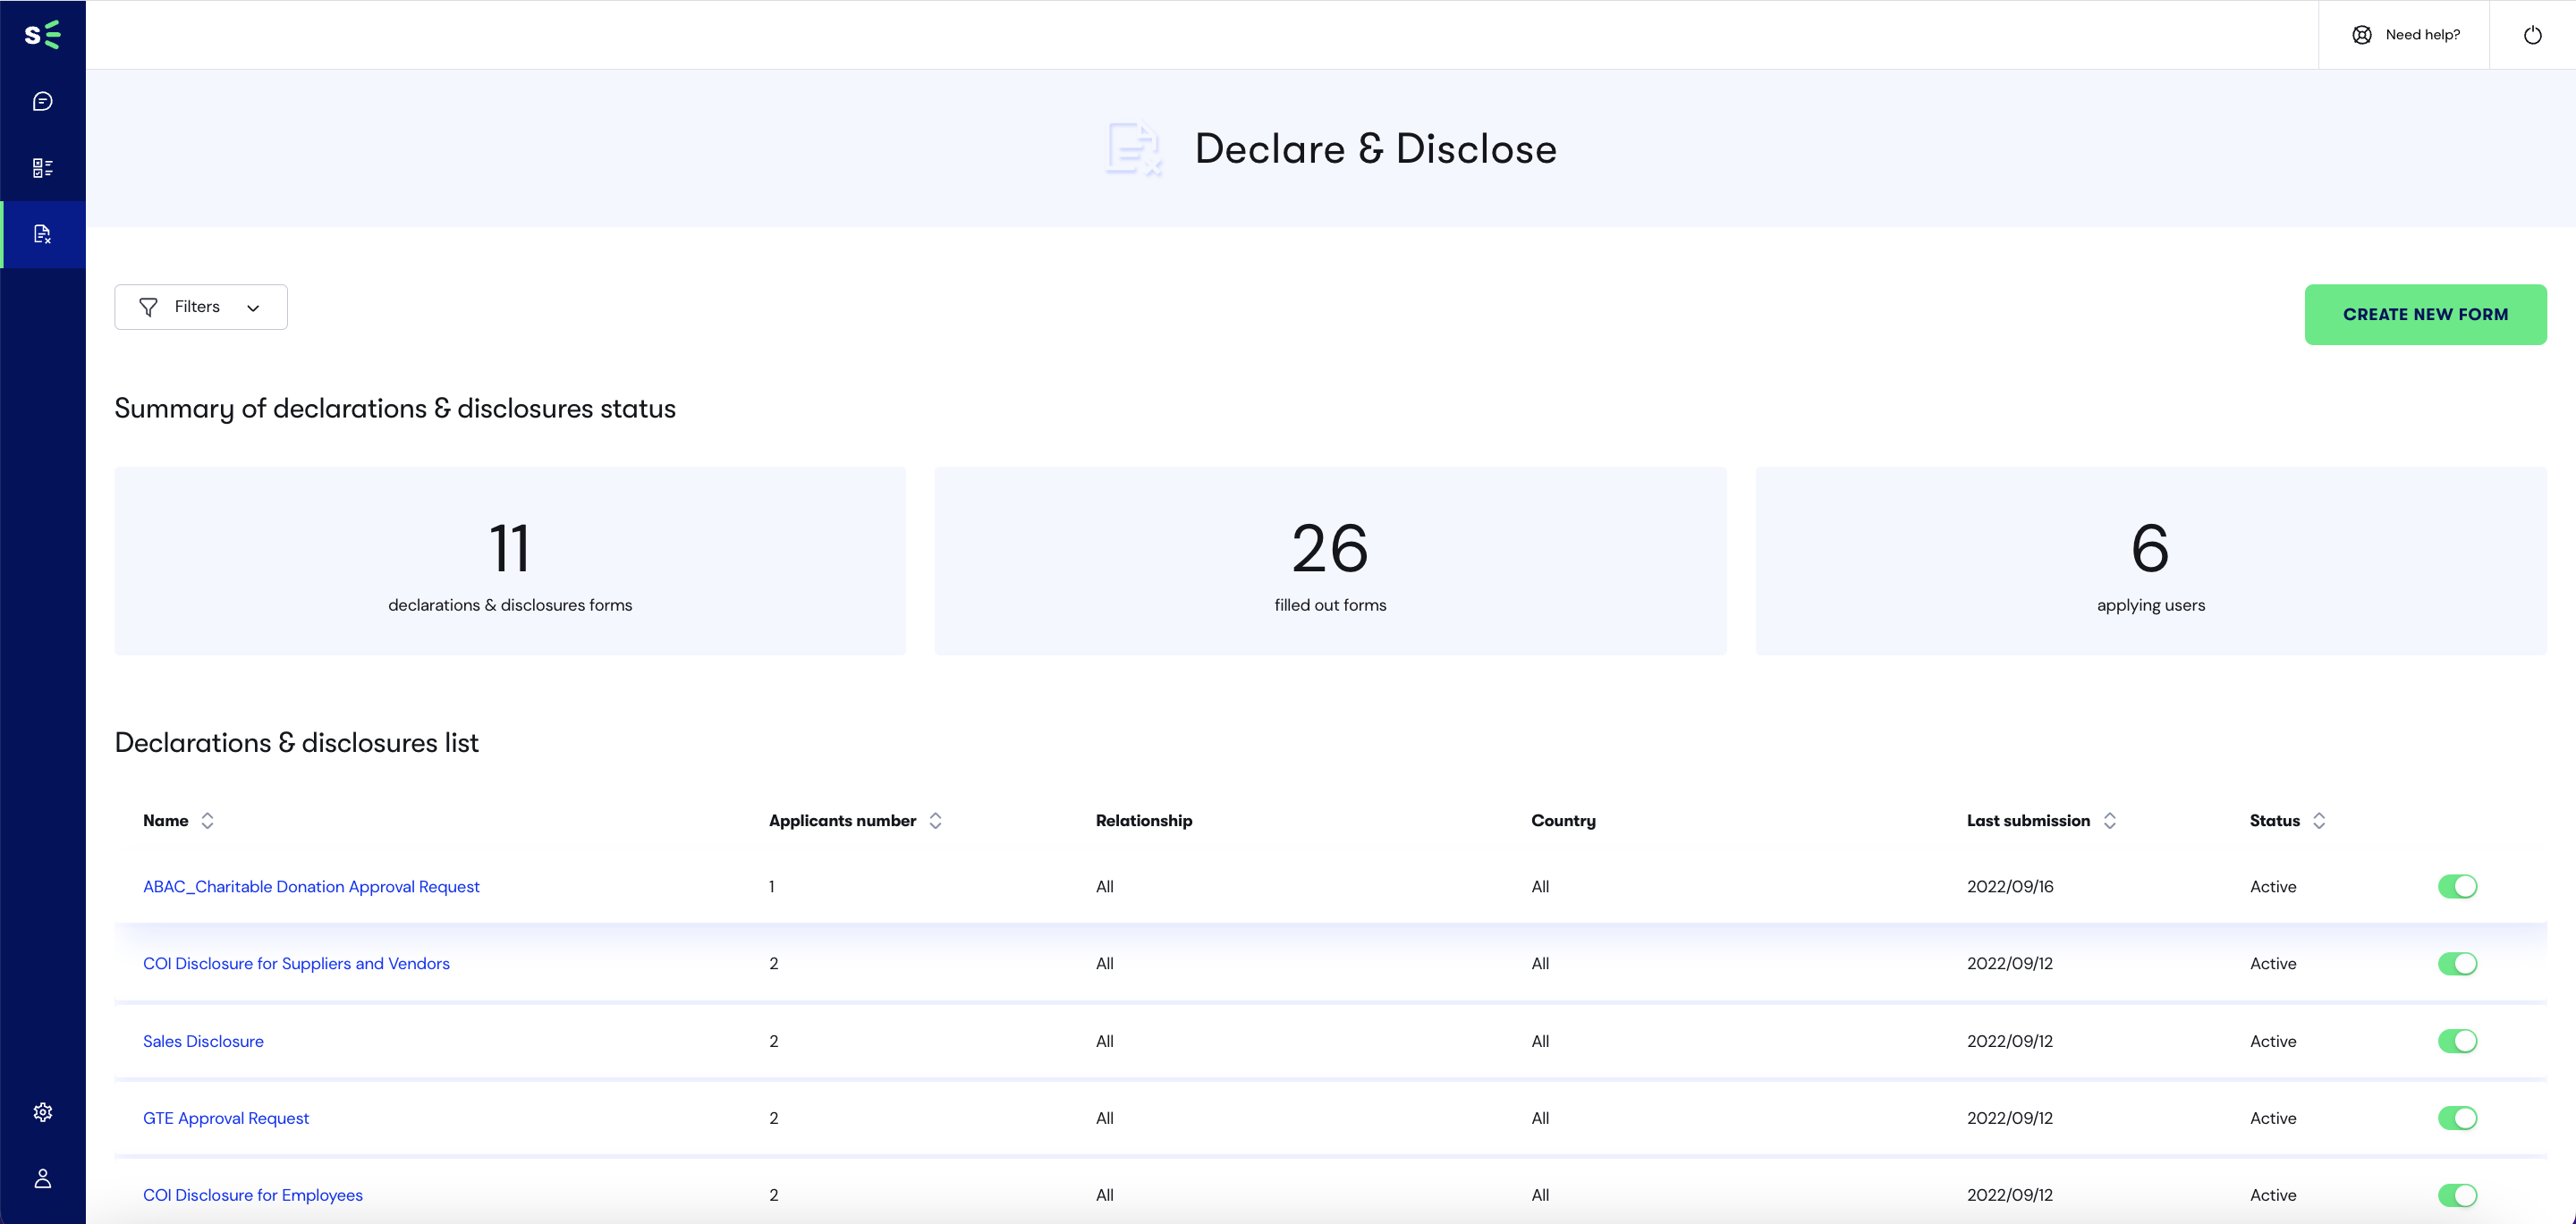
Clicking on the Publish button will lead you to the Declare & Disclose dashboard where you can see your form in the list of forms available for you to manage.
Managing form accessibility
An active form is a form that is always available or accessible to users under the Declare & Disclose service. A form is active if you see the radio button toggled to on as seen below.
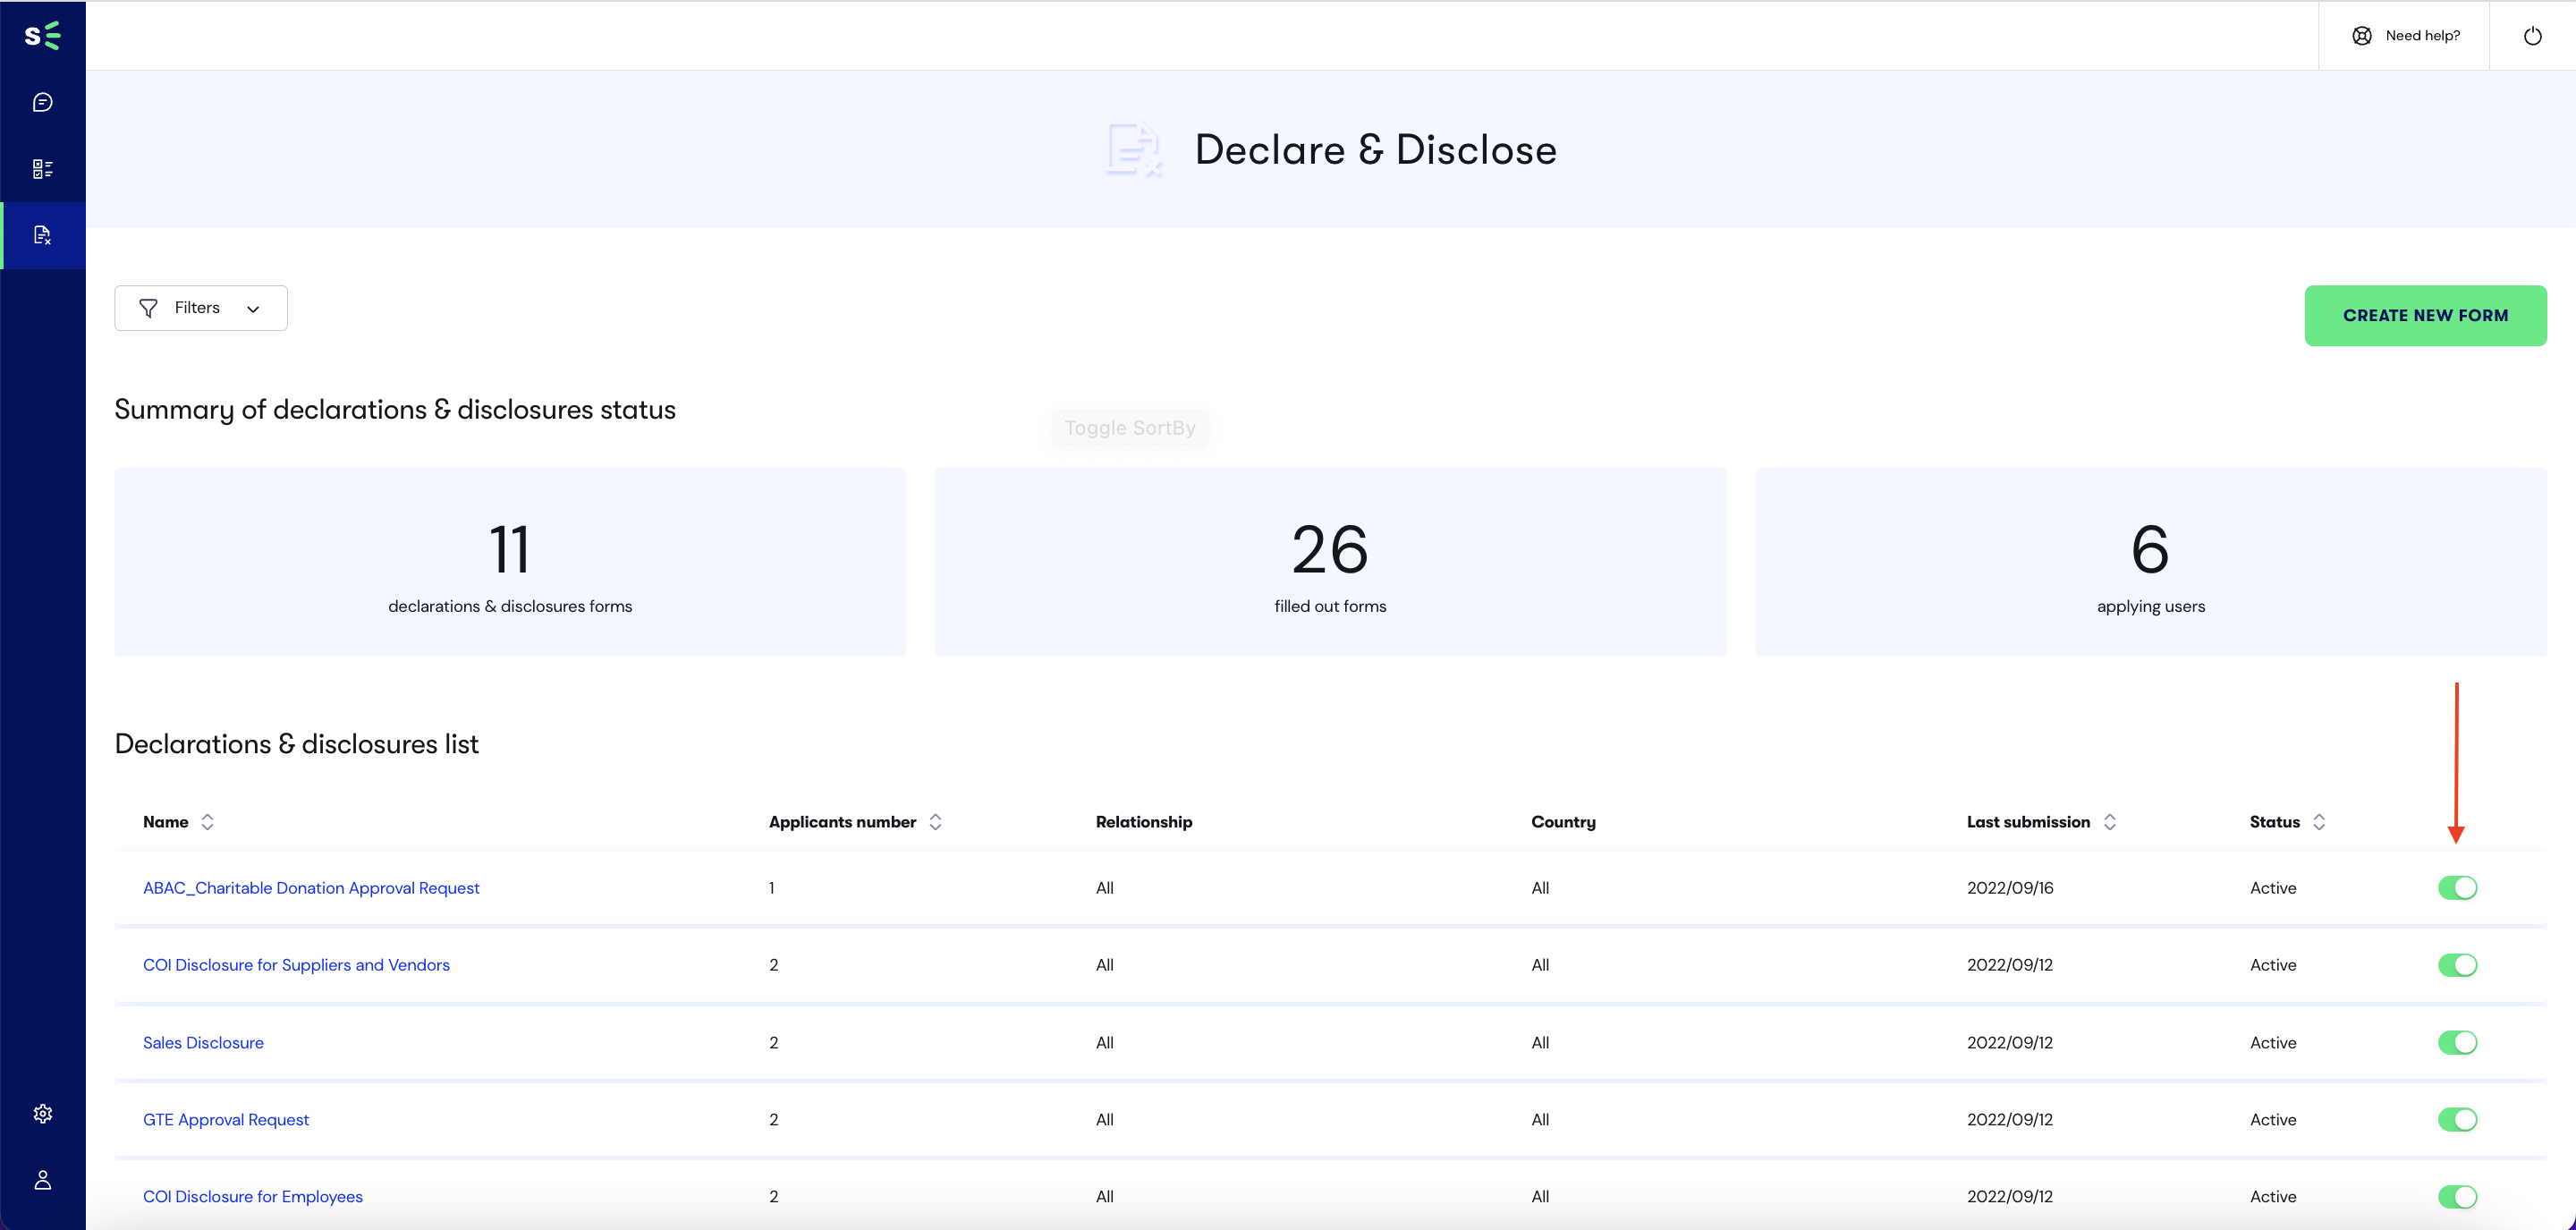
To mark the form as inactive, simply toggle the radio button to off. This will hide the form from users, making it unavailable or inaccessible.