How to update your profile preferences
This article covers how to change relationship, country, and other configurations in your settings.
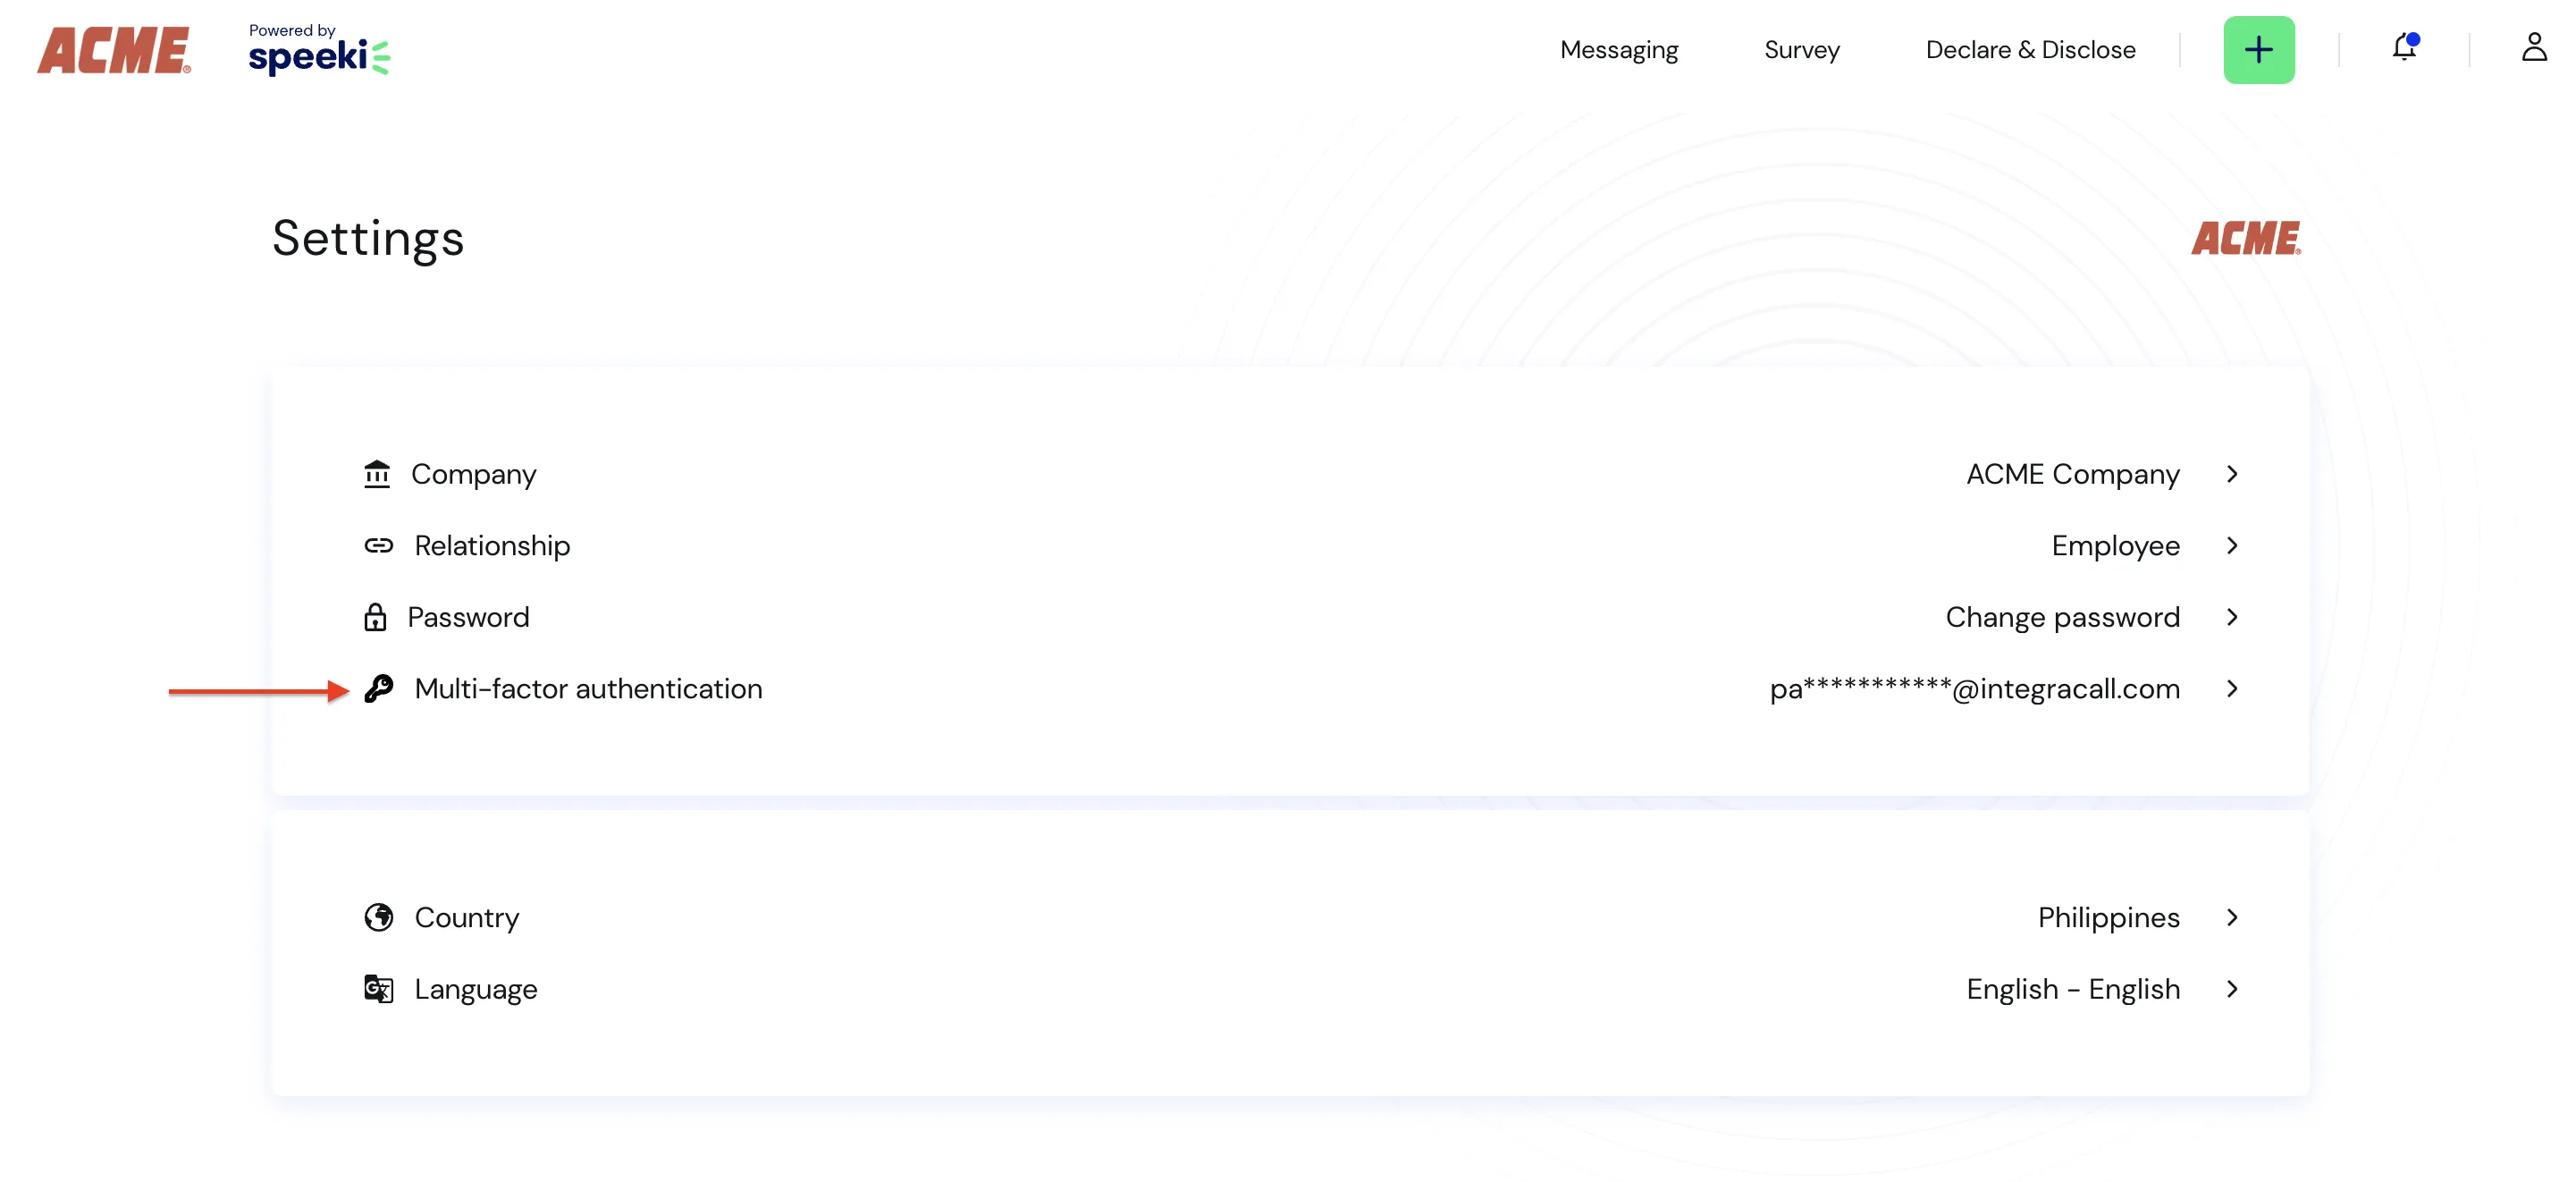
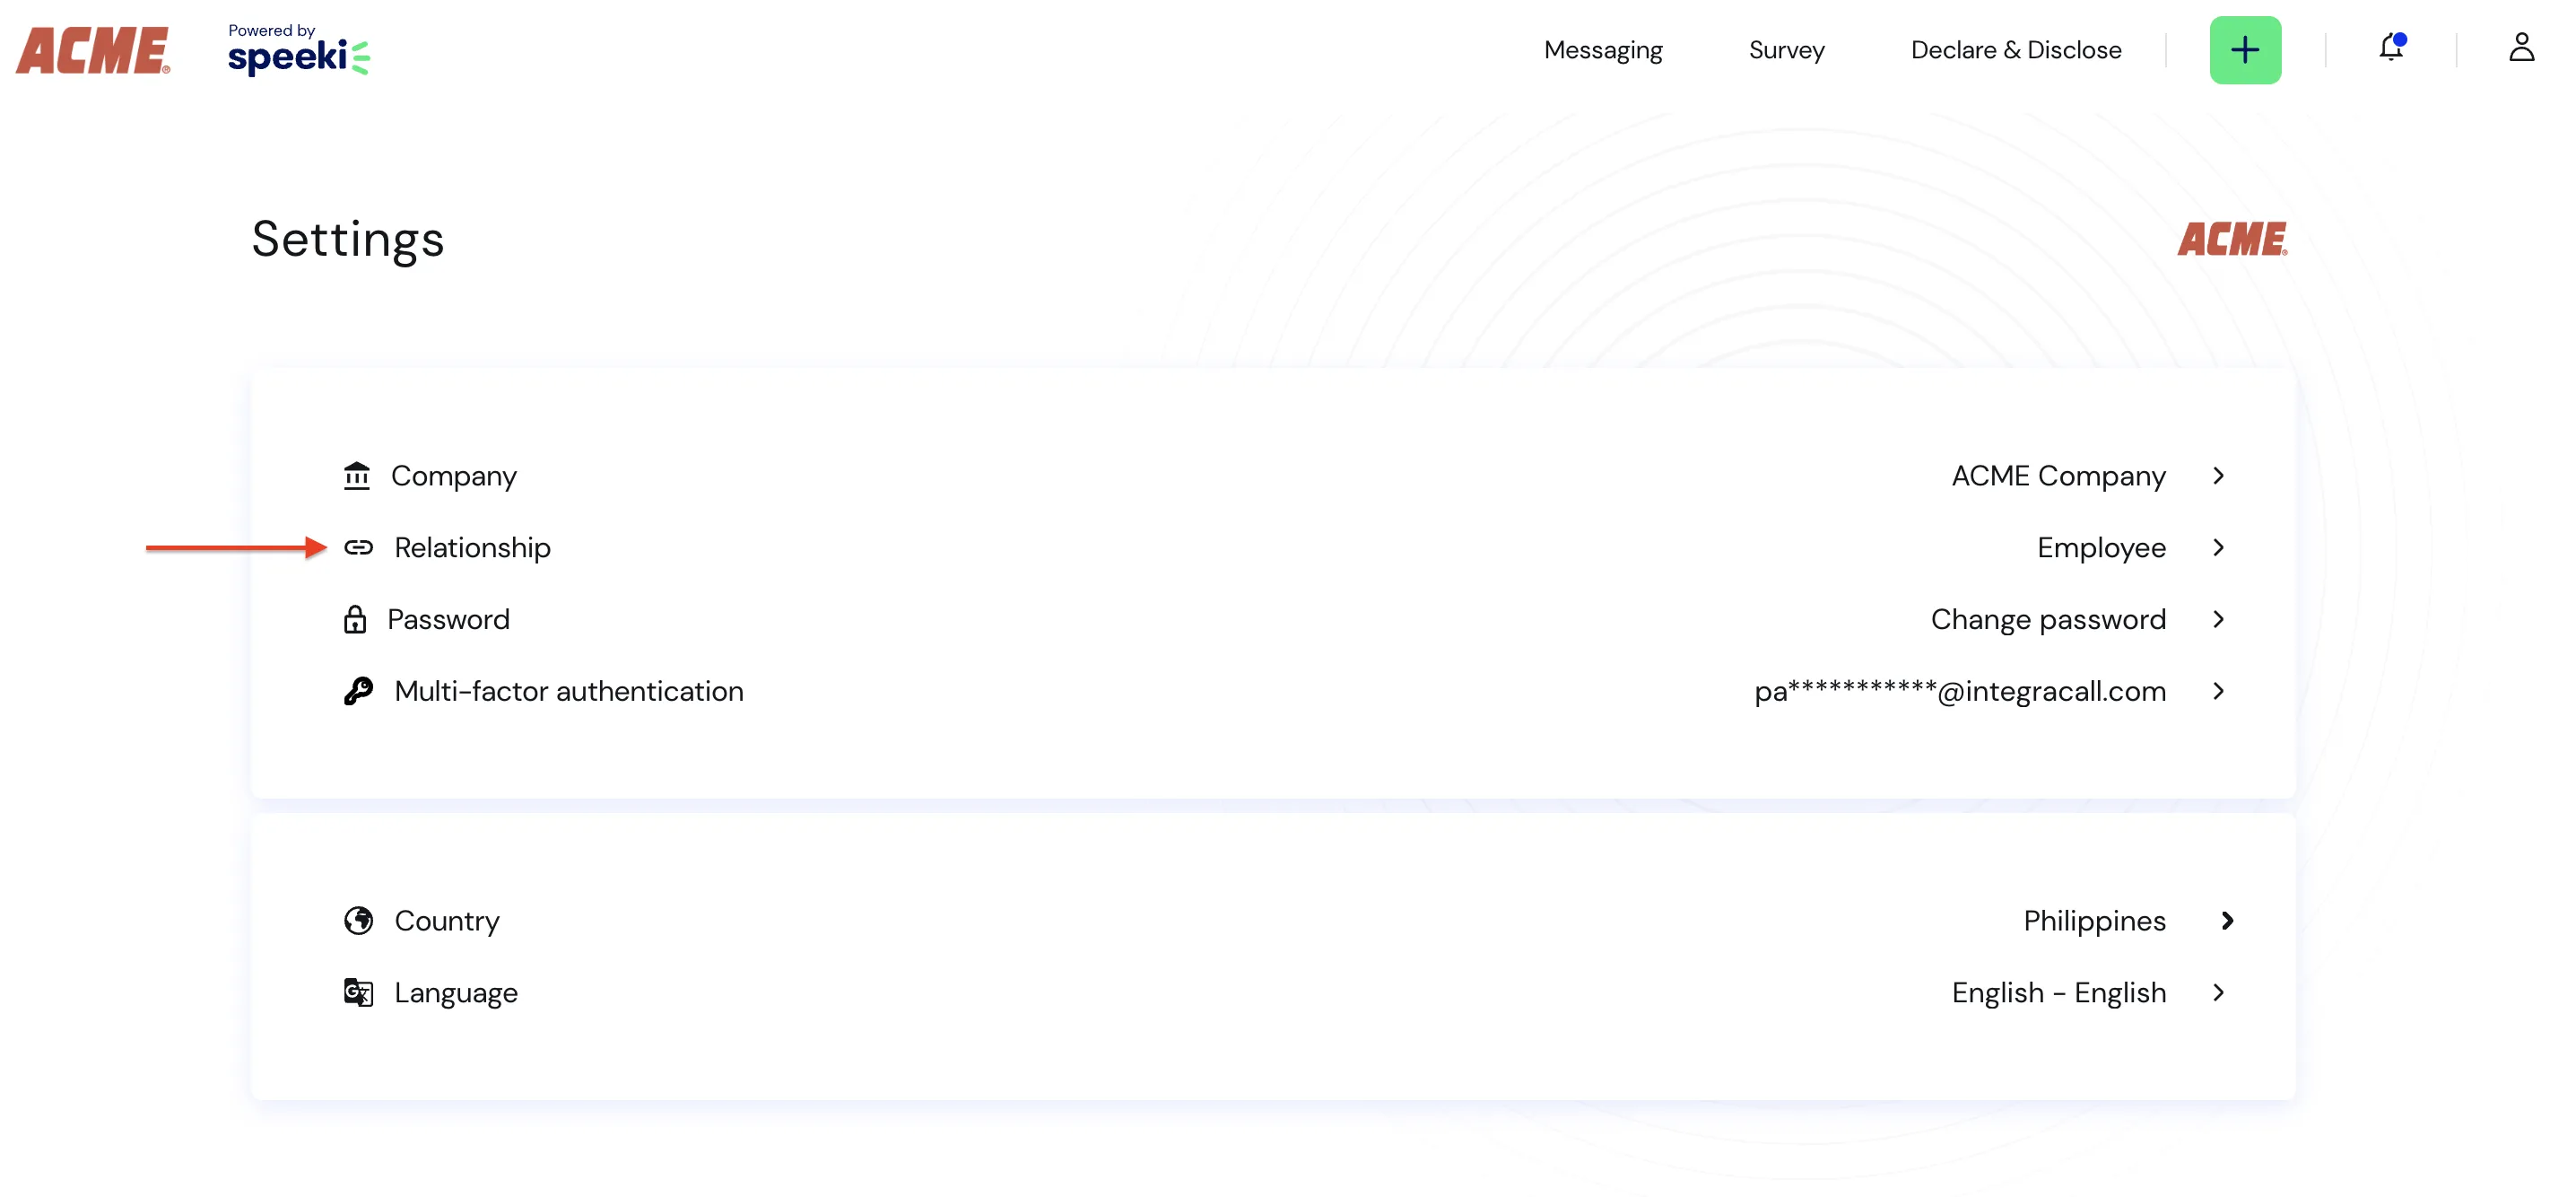
To access the ‘Settings’ page, click the profile icon to open the menu and then click Settings. From the ‘Settings’ page you can change:
- the password you use to access Speeki for the company (if you registered);
- your country;
- the company you are accessing Speeki for;
- the default language of the Speeki web service;
- your relationship to the company; and
- multi-factor authentication.
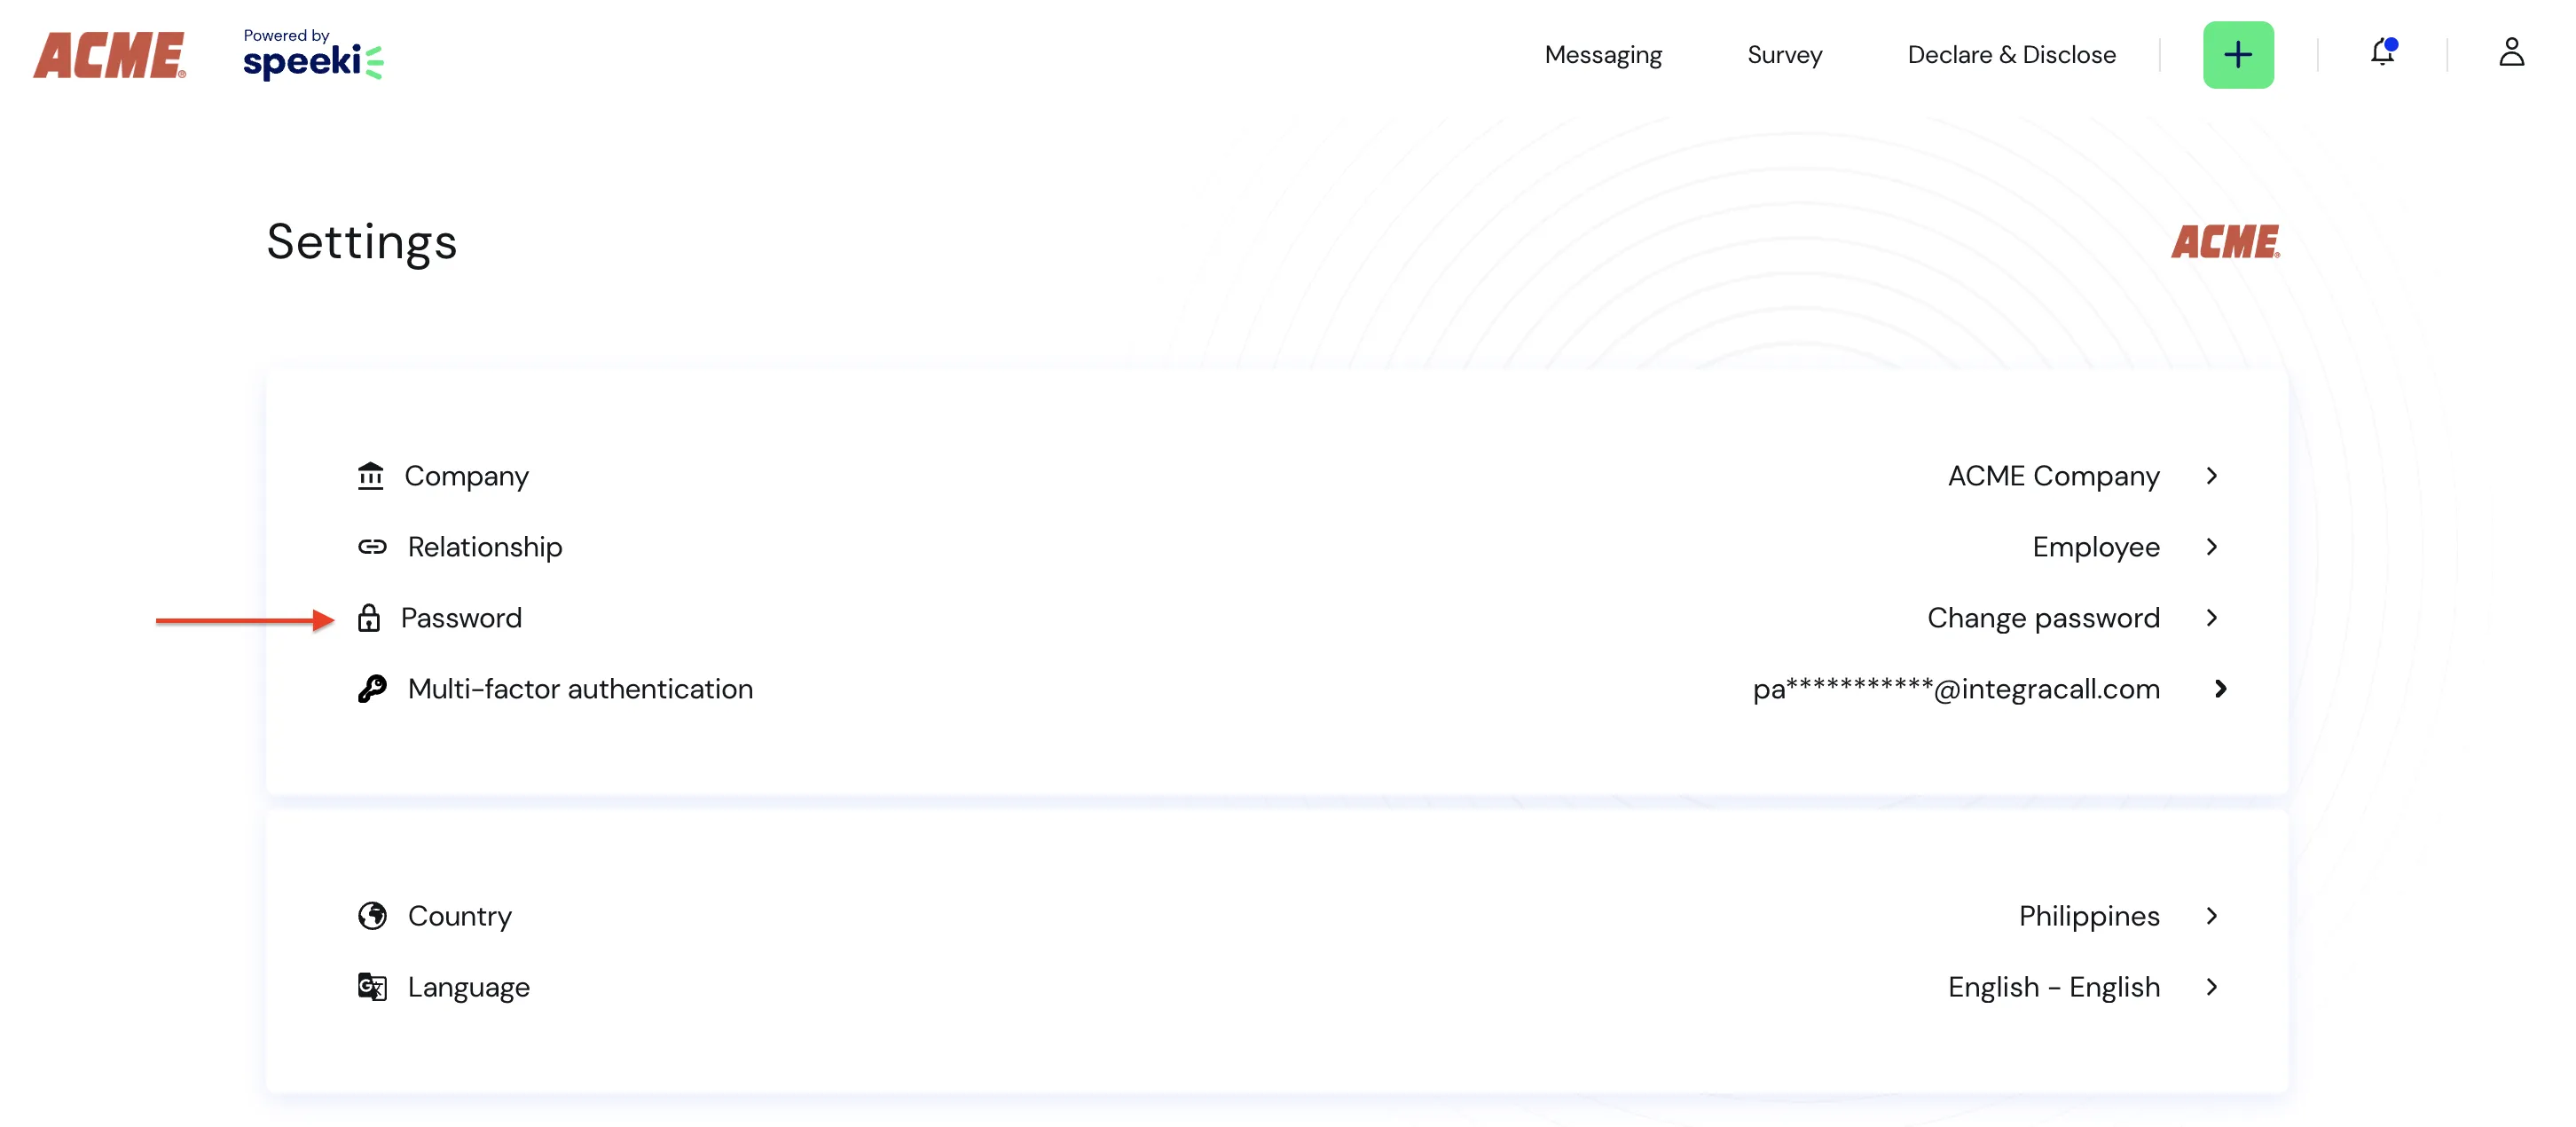
Changing your password
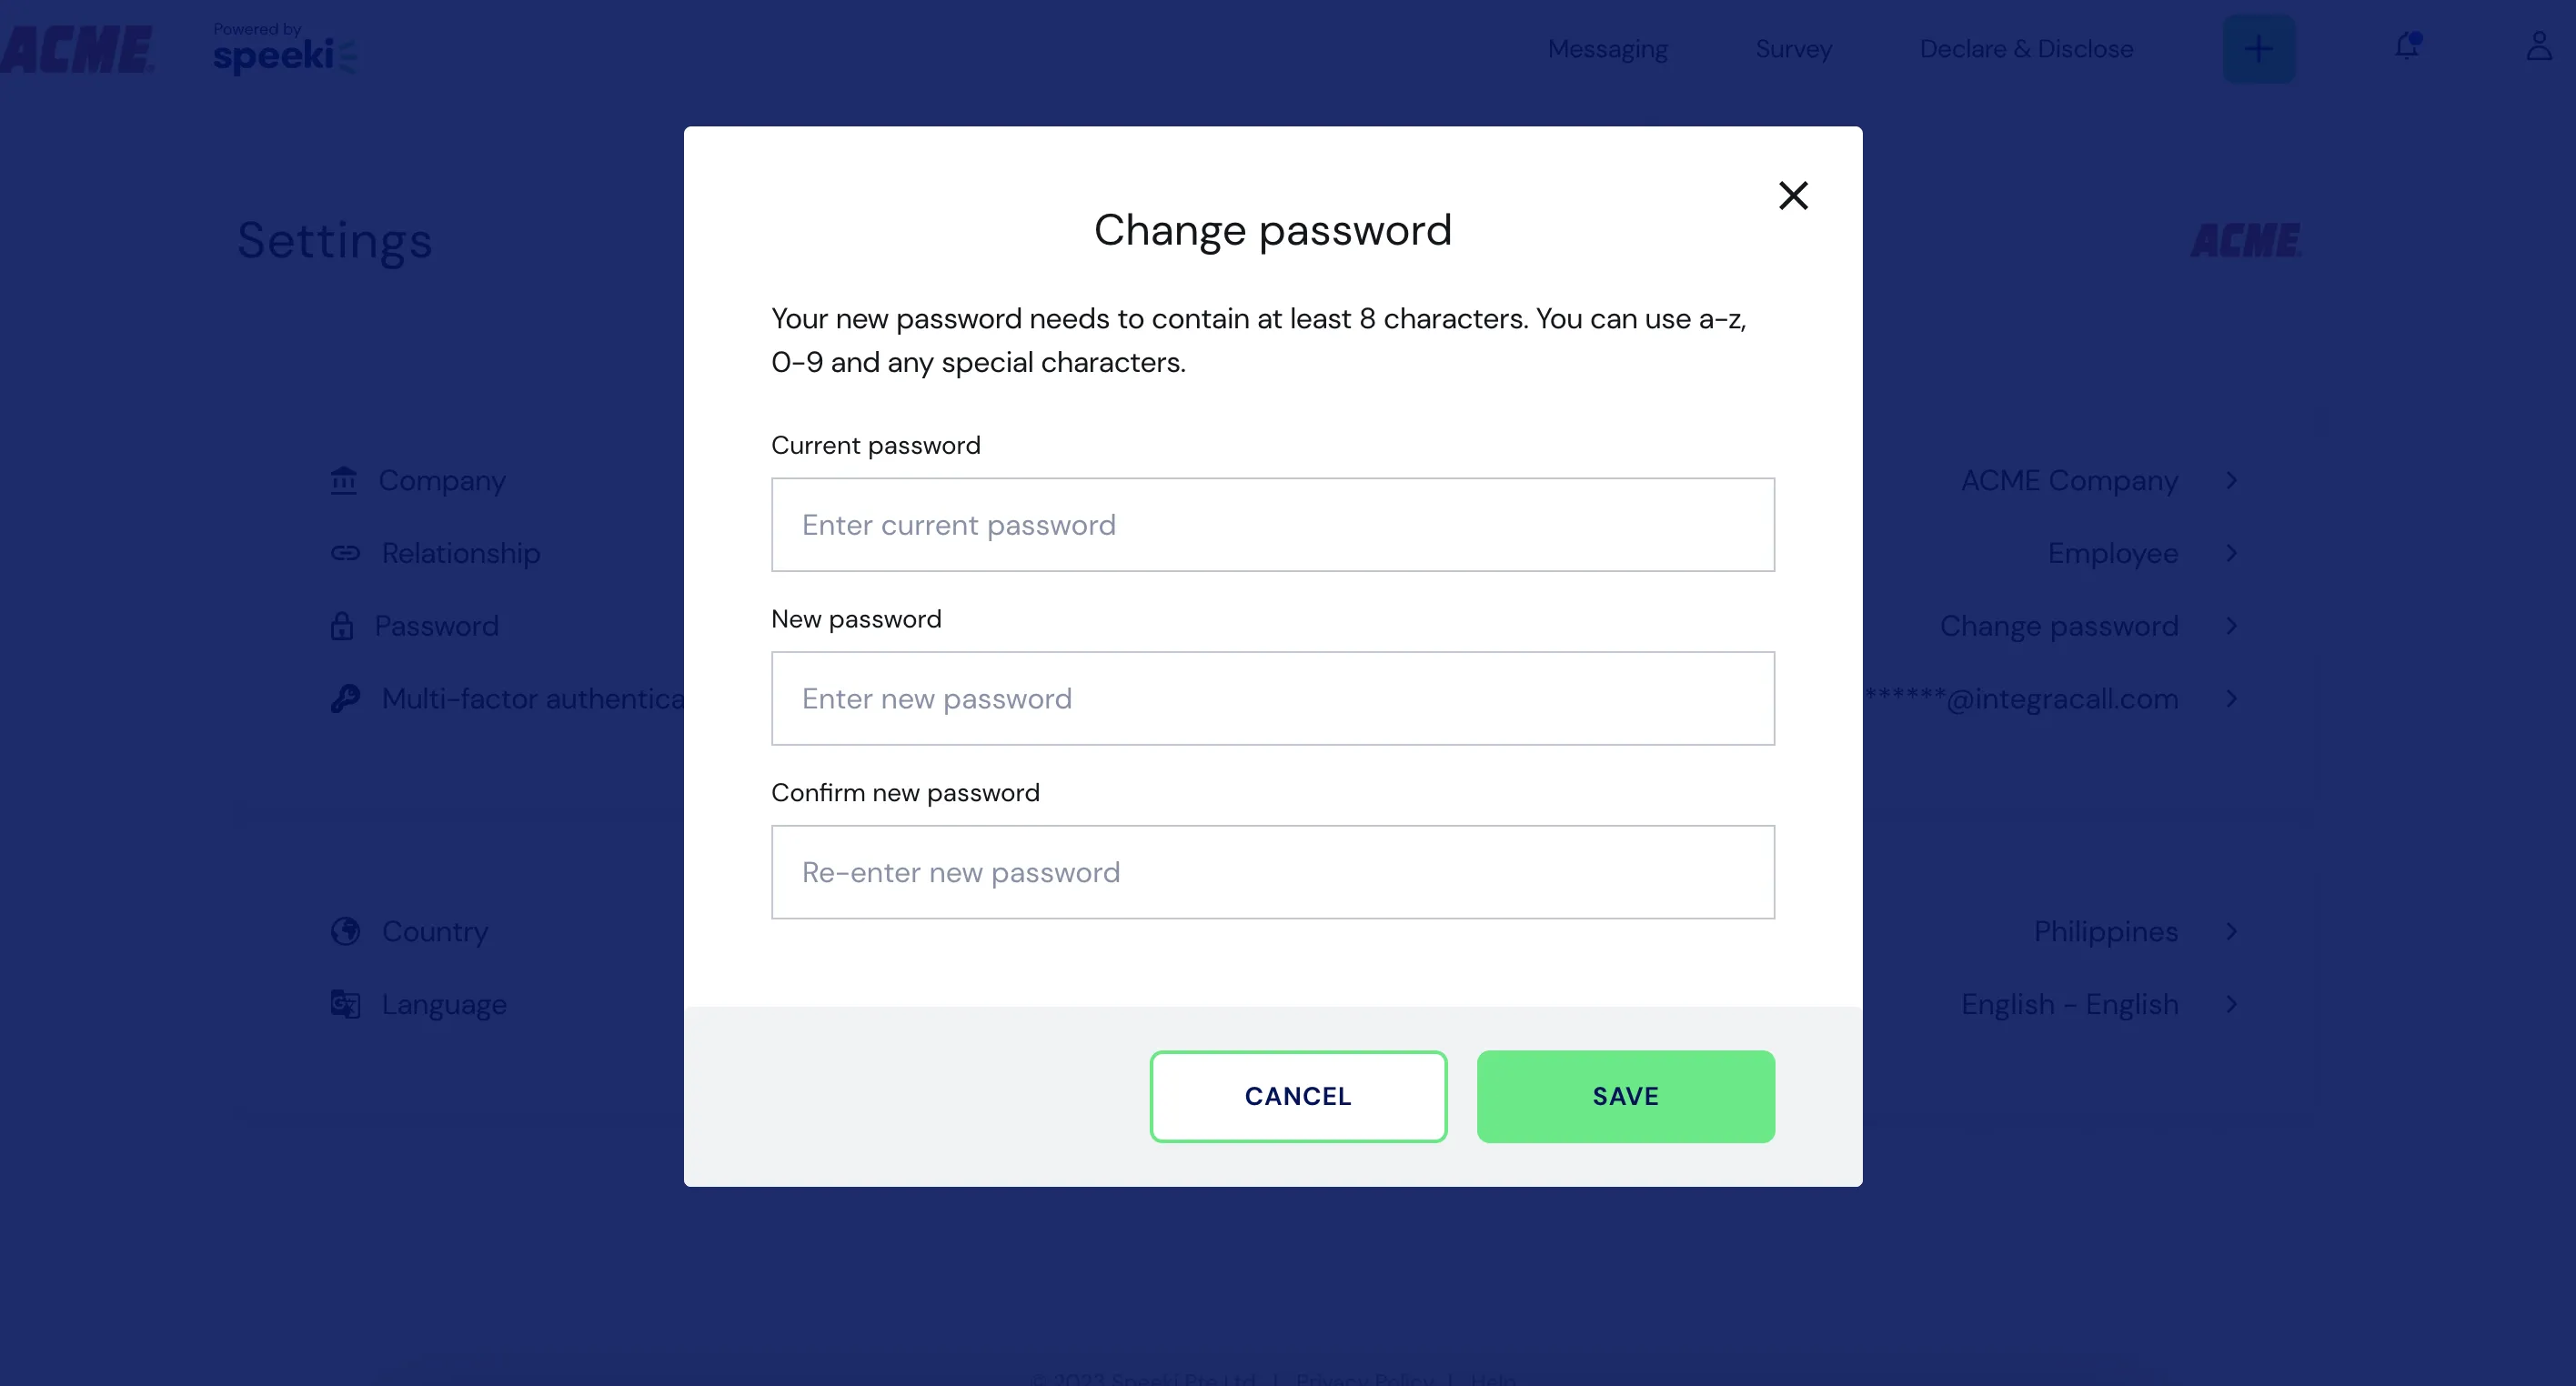
If you have registered for Speeki and are not logged in as a guest user, you can change your password via the ‘Settings’ page. To change your password, click on Change password button on the ‘Settings’ page to bring up the ‘Change password’ screen. To set your new password, enter your current password in the Current password field, enter the new password in the New password field and confirm this password by typing it again in the Confirm new password field. You will see an error message if the passwords you entered do not match.
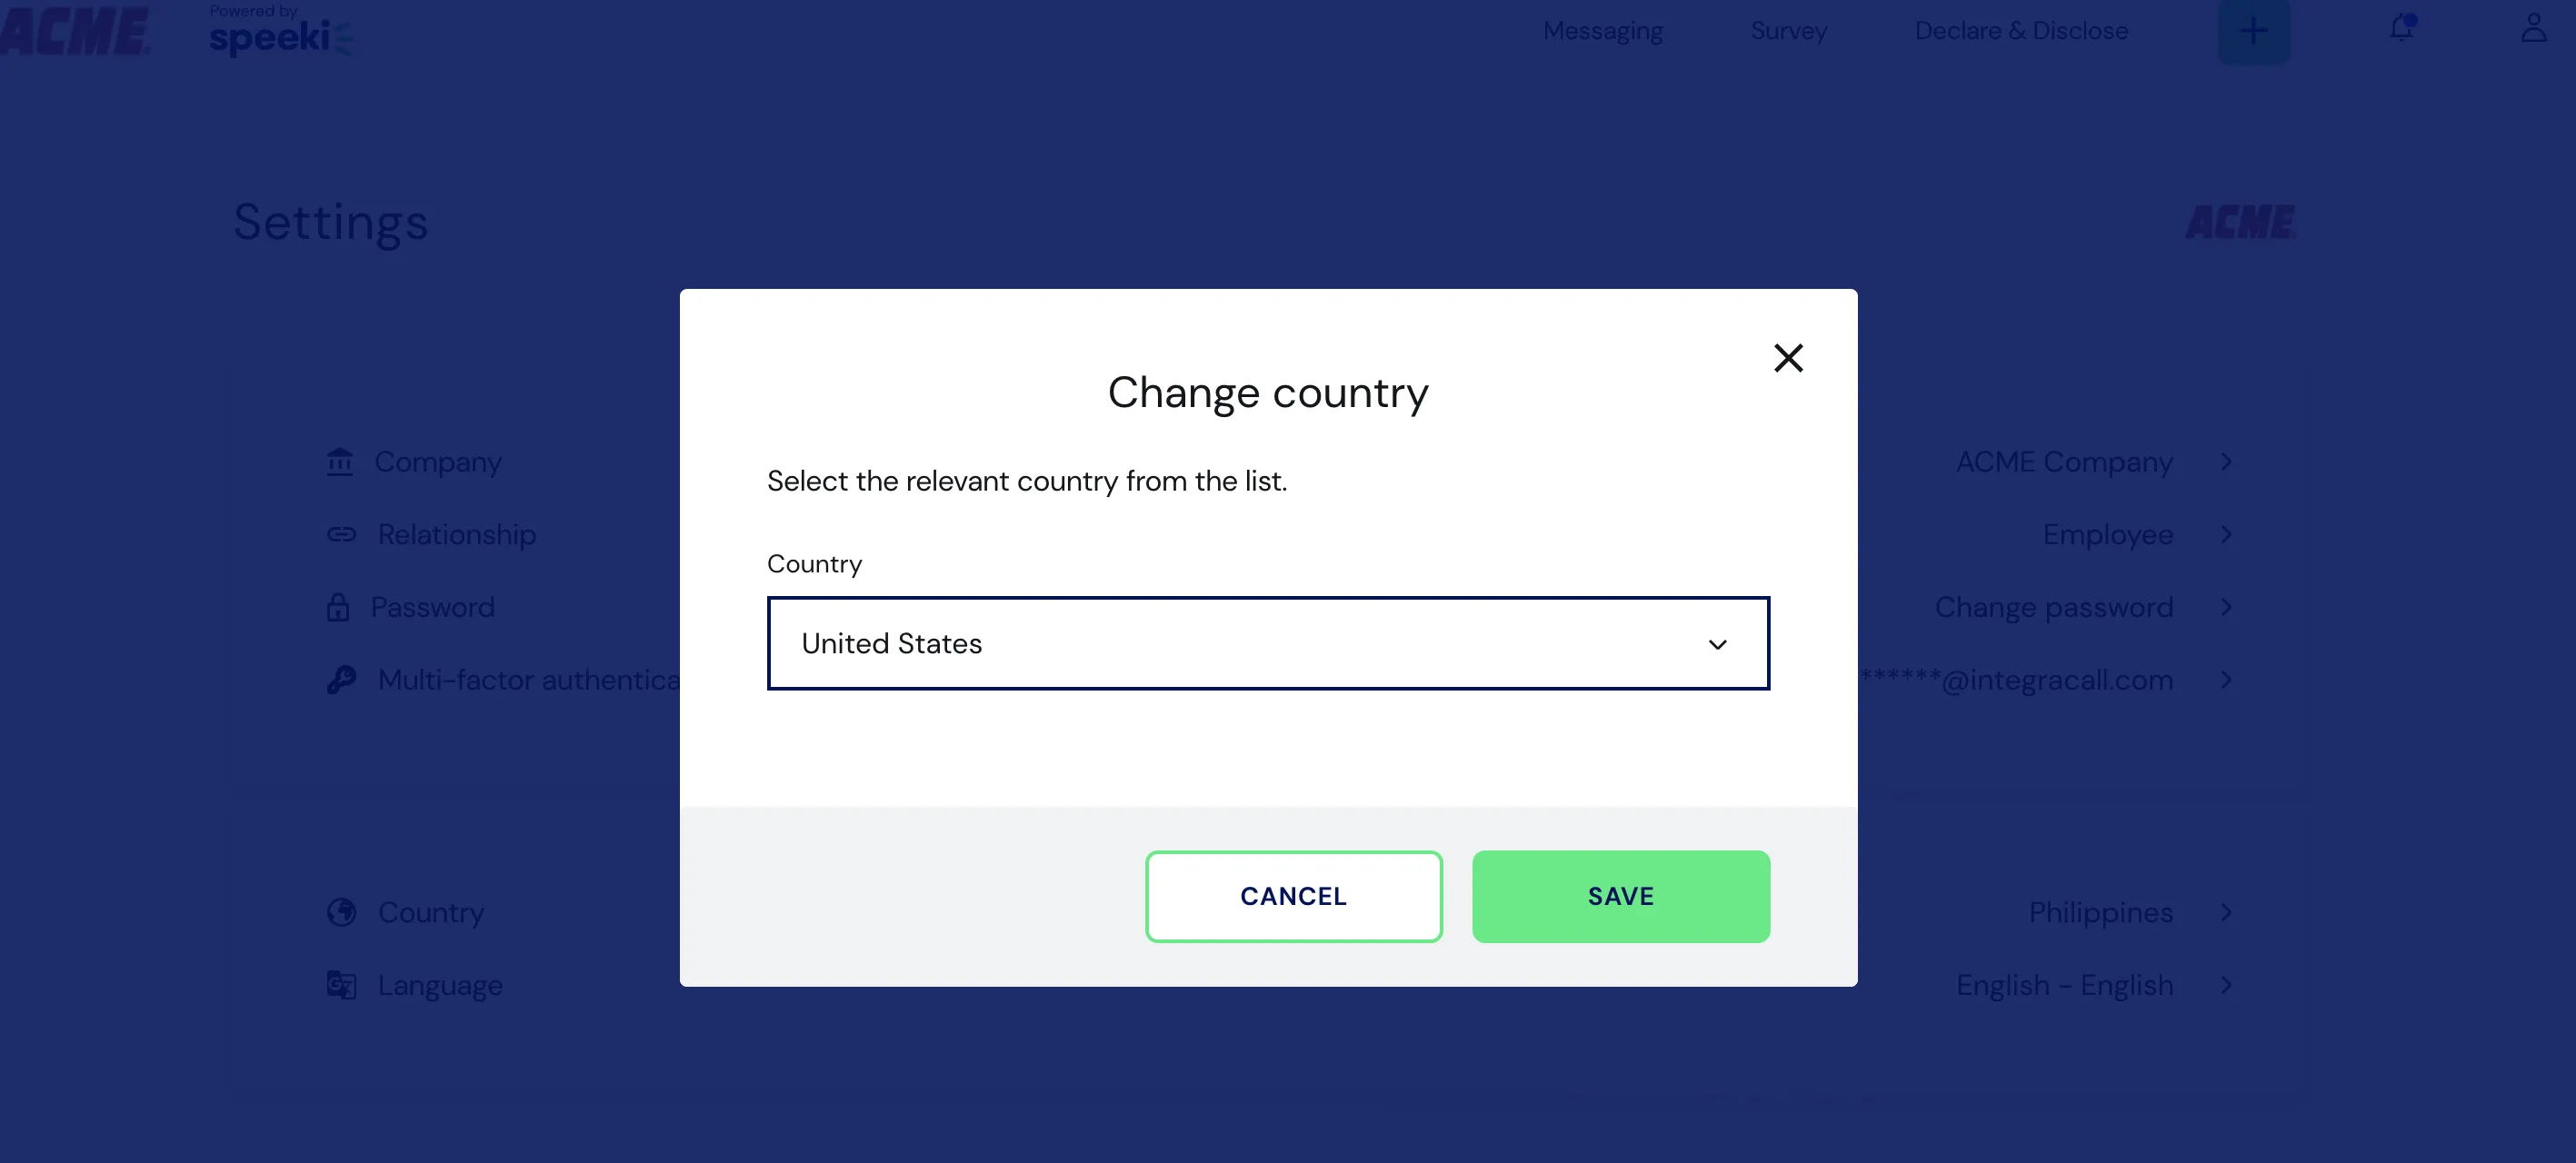
Changing your country
To change your country, click on the Country button on the ‘Settings’ page to bring up the ‘Country’ screen. Select the relevant country from the Country list and click SAVE.

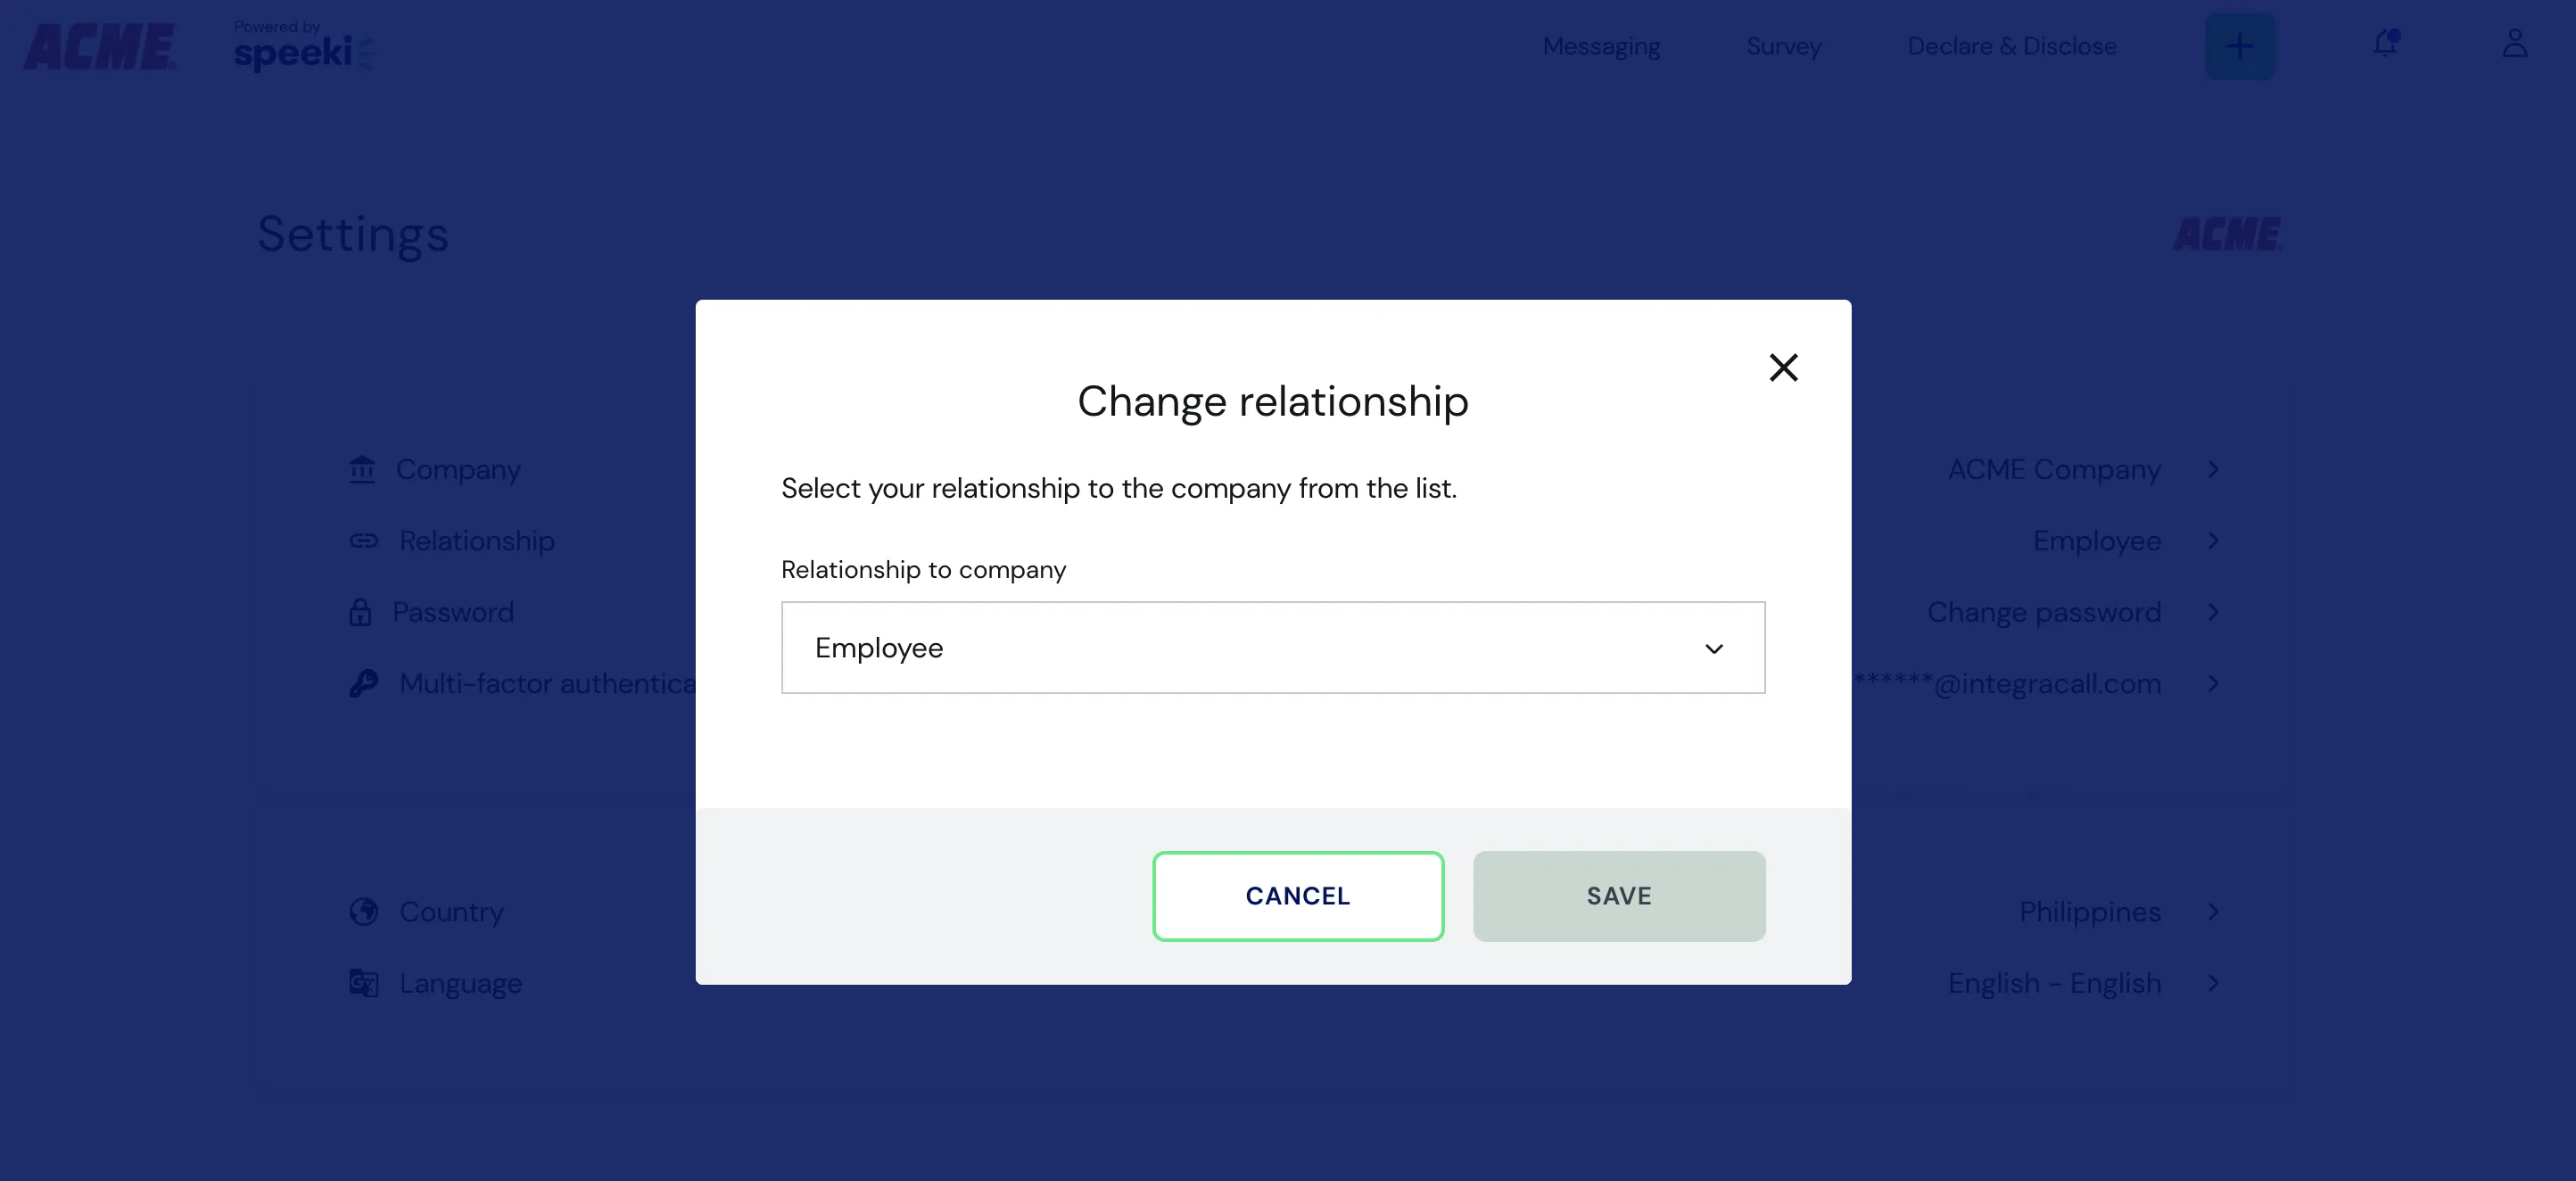
Changing your relationship
To change your relationship to the company, click on the Relationship button on the ‘Settings’ page to bring up the ‘Change relationship’ screen. Select the relevant relationship from the Relationship to company list and click SAVE.
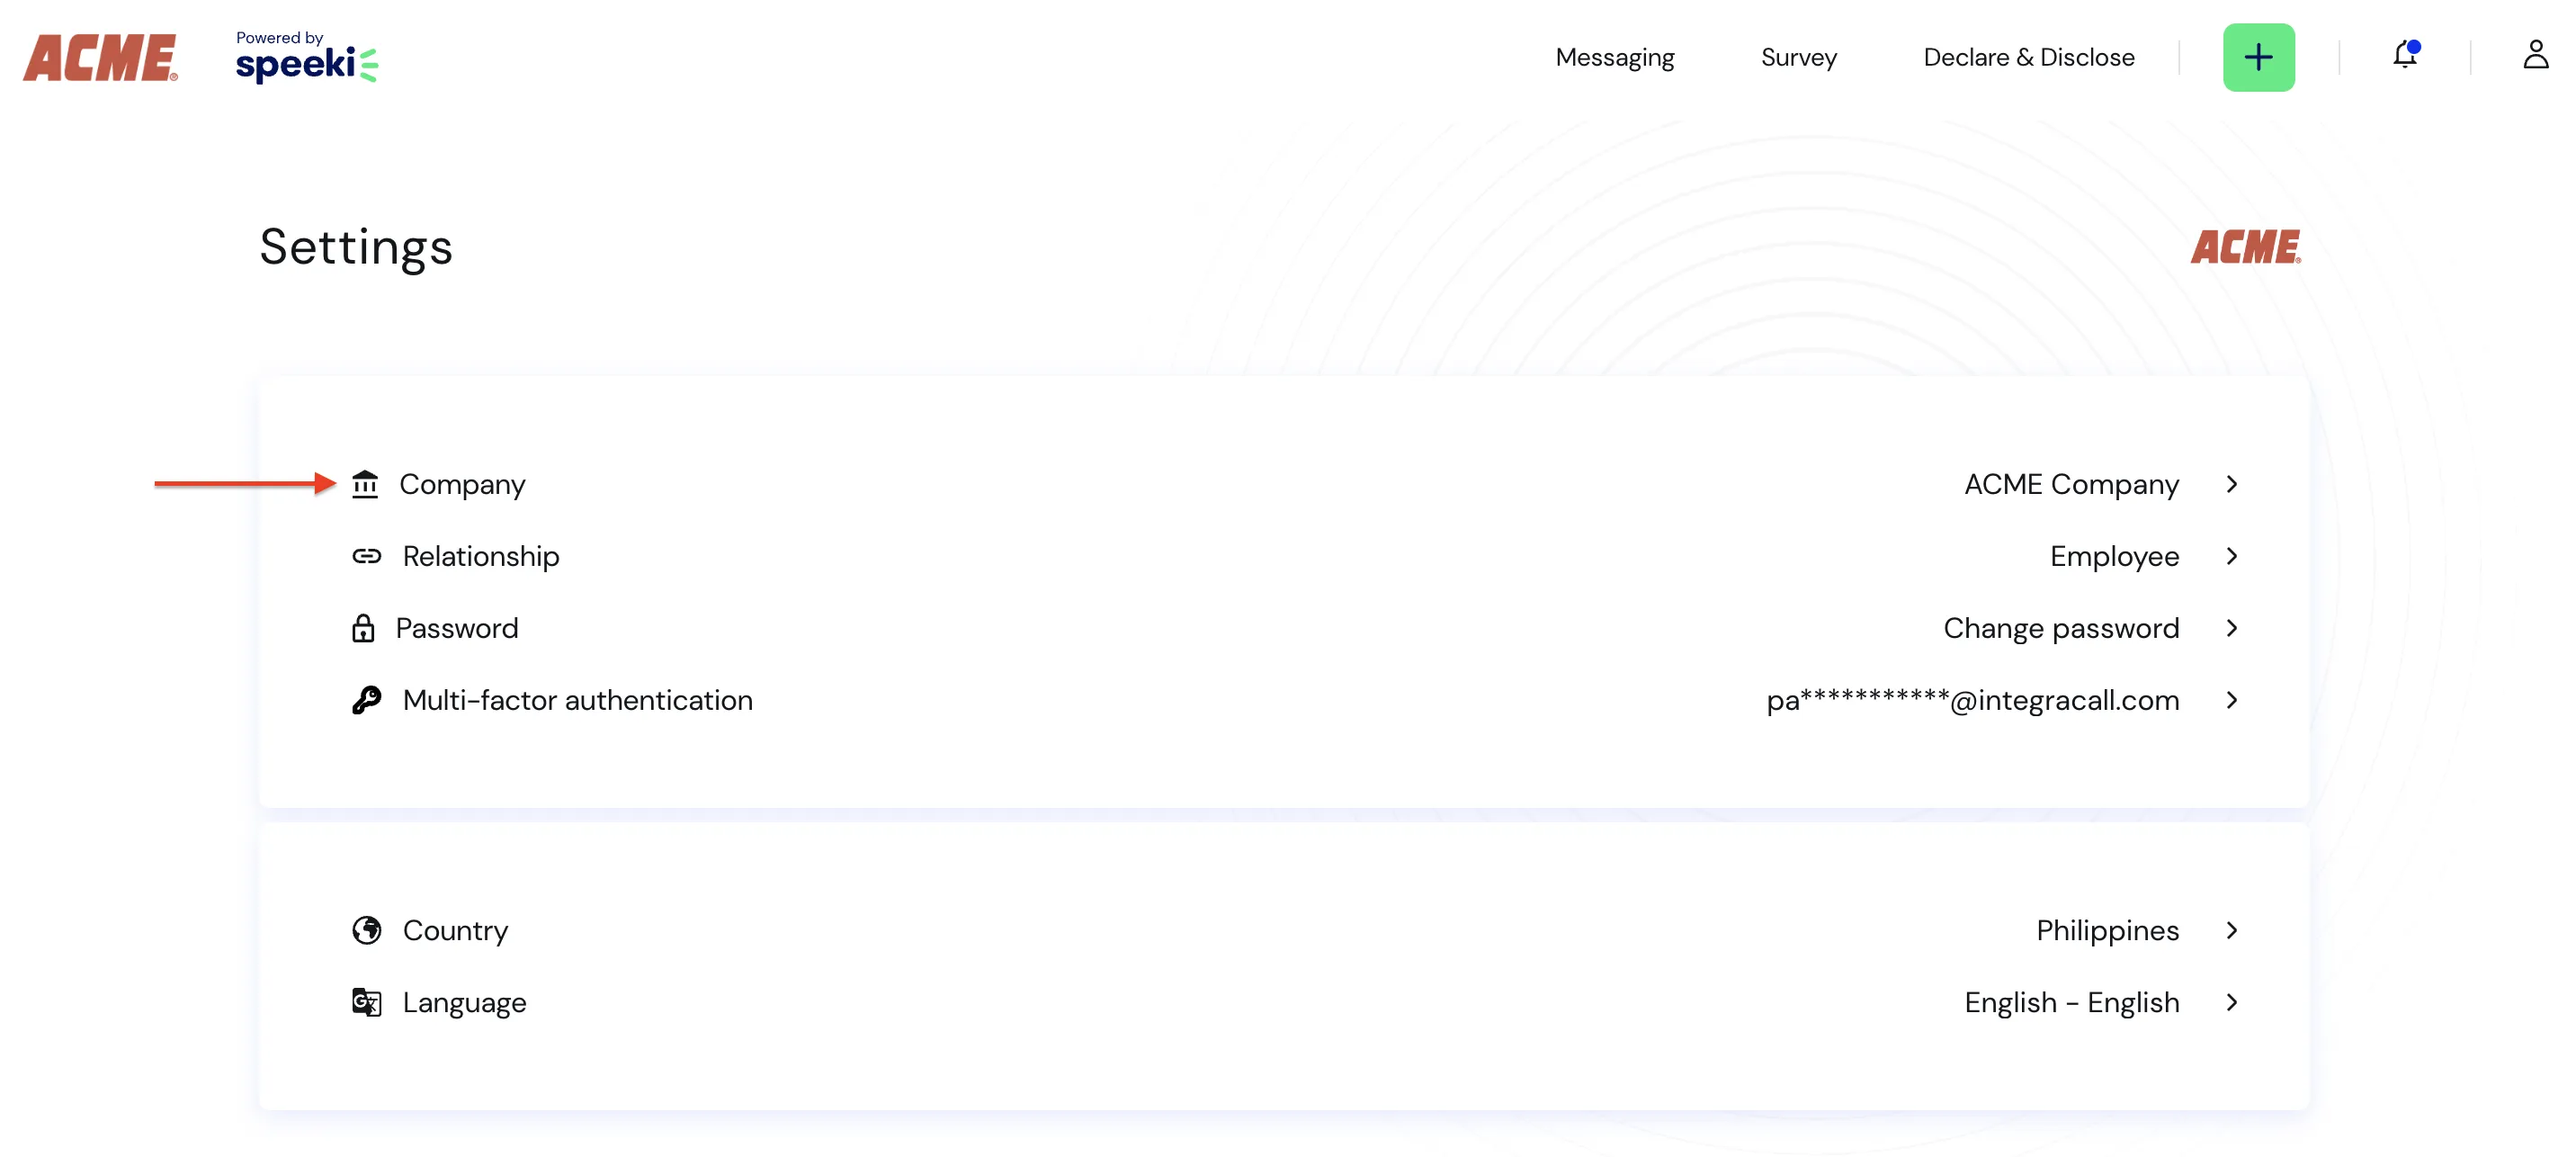
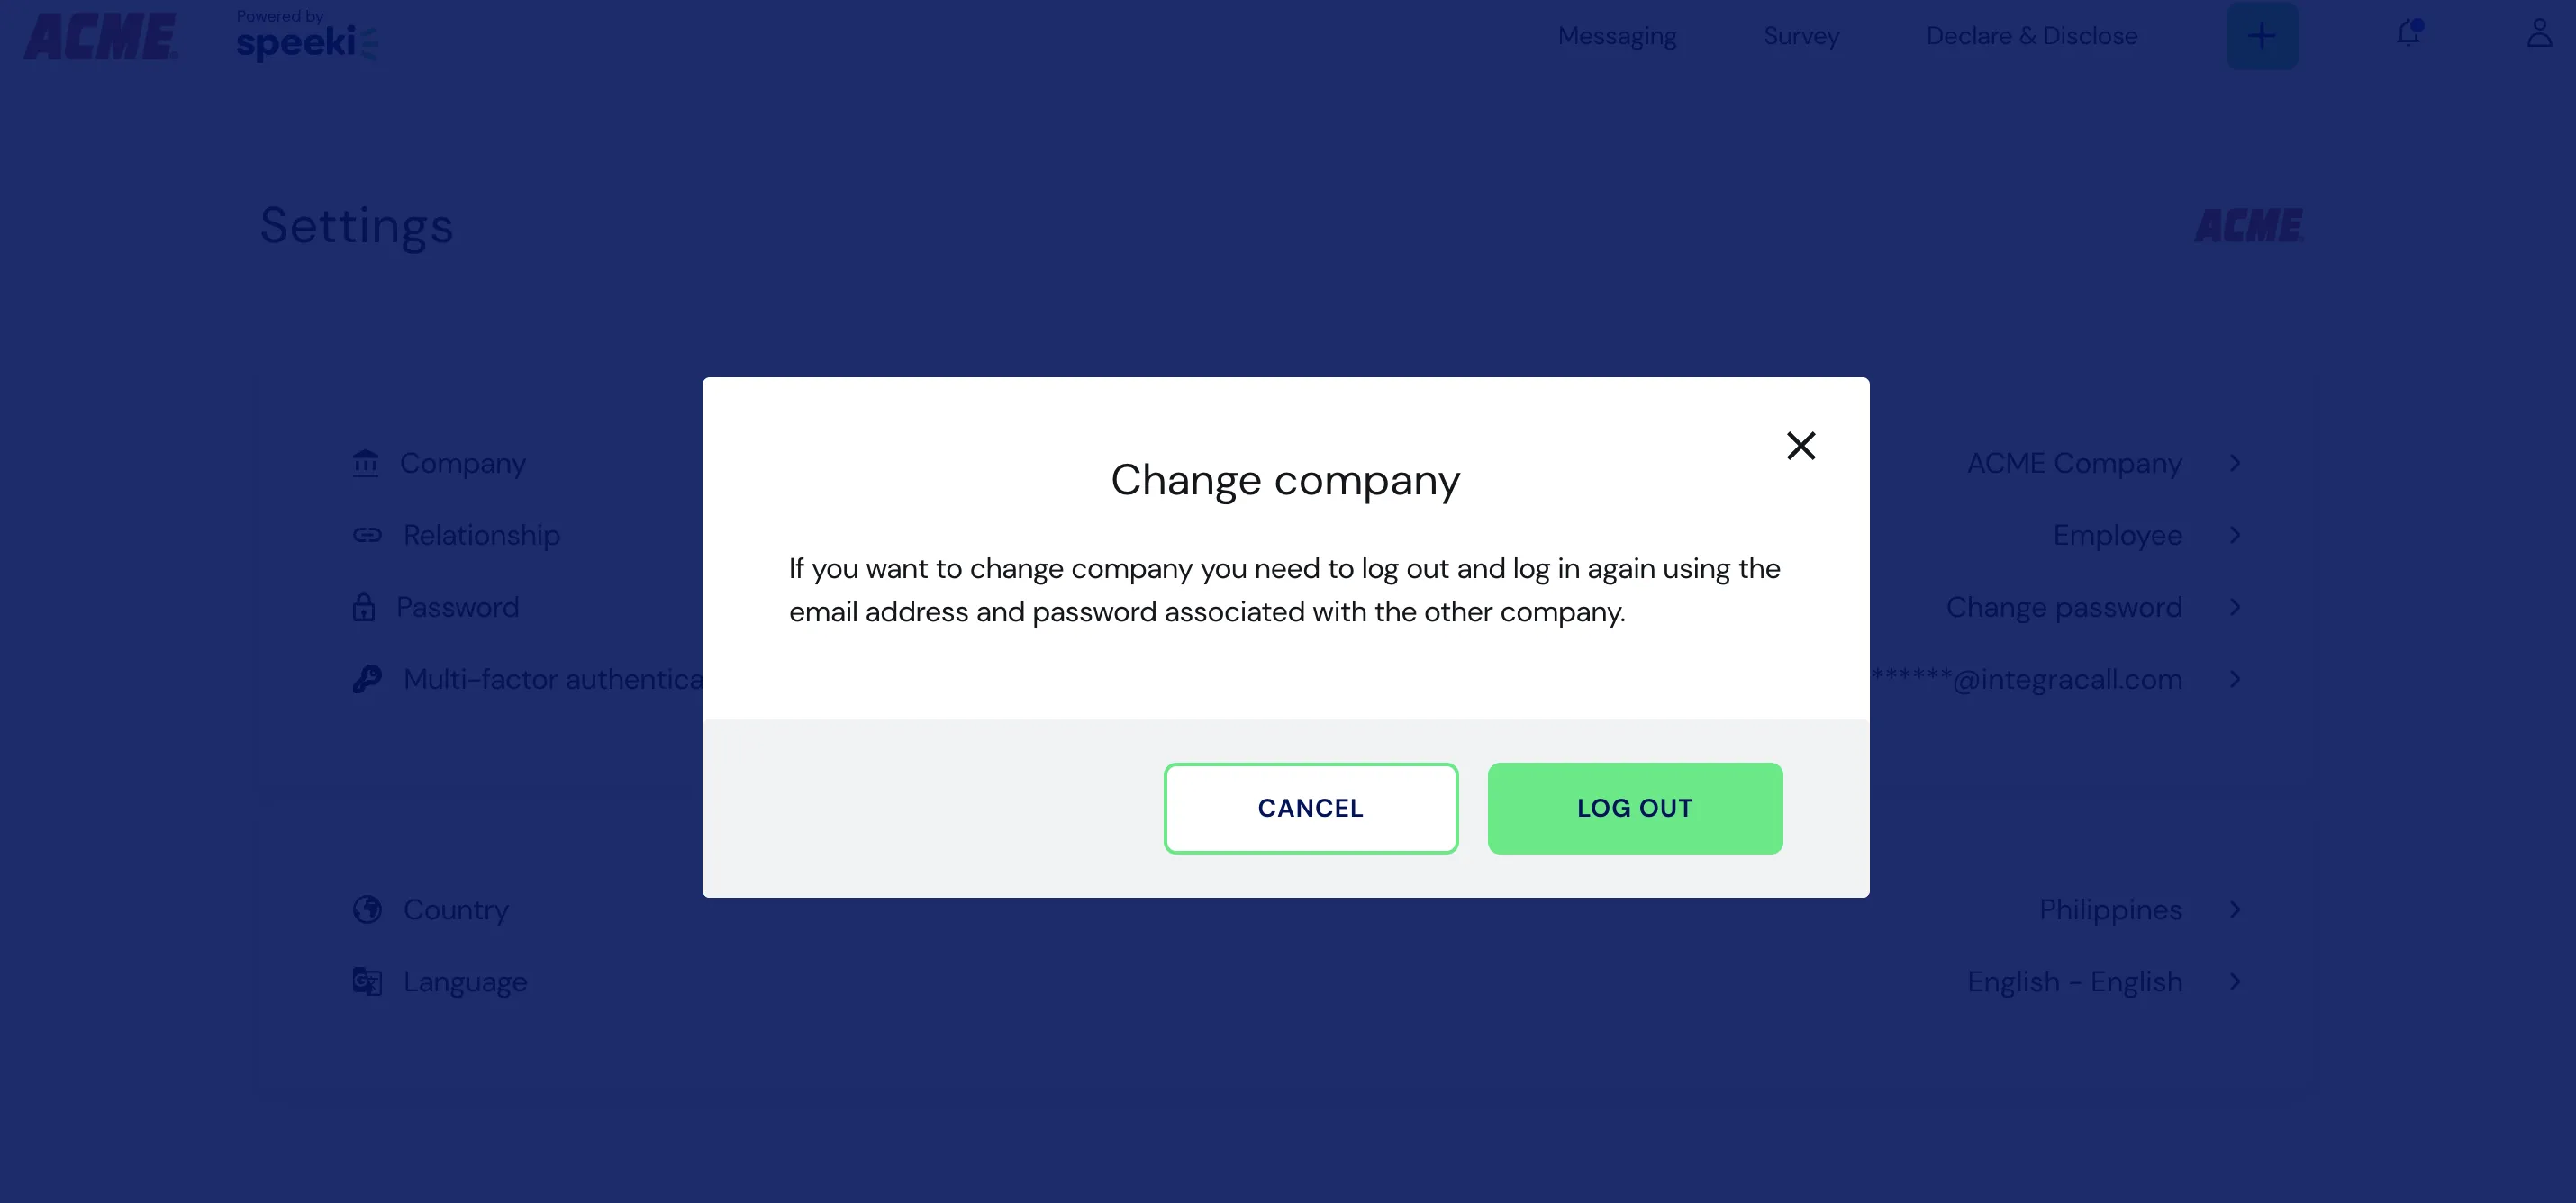
Changing your company
If you want to use the Speeki service for a different company, you can switch companies by clicking on the Company button on the ‘Settings’ page to bring up the ‘Change company’ screen. Click LOG OUT to be redirected to the ‘Welcome’ page (1.1), where you can enter the company name for the other company you want to use the service for.
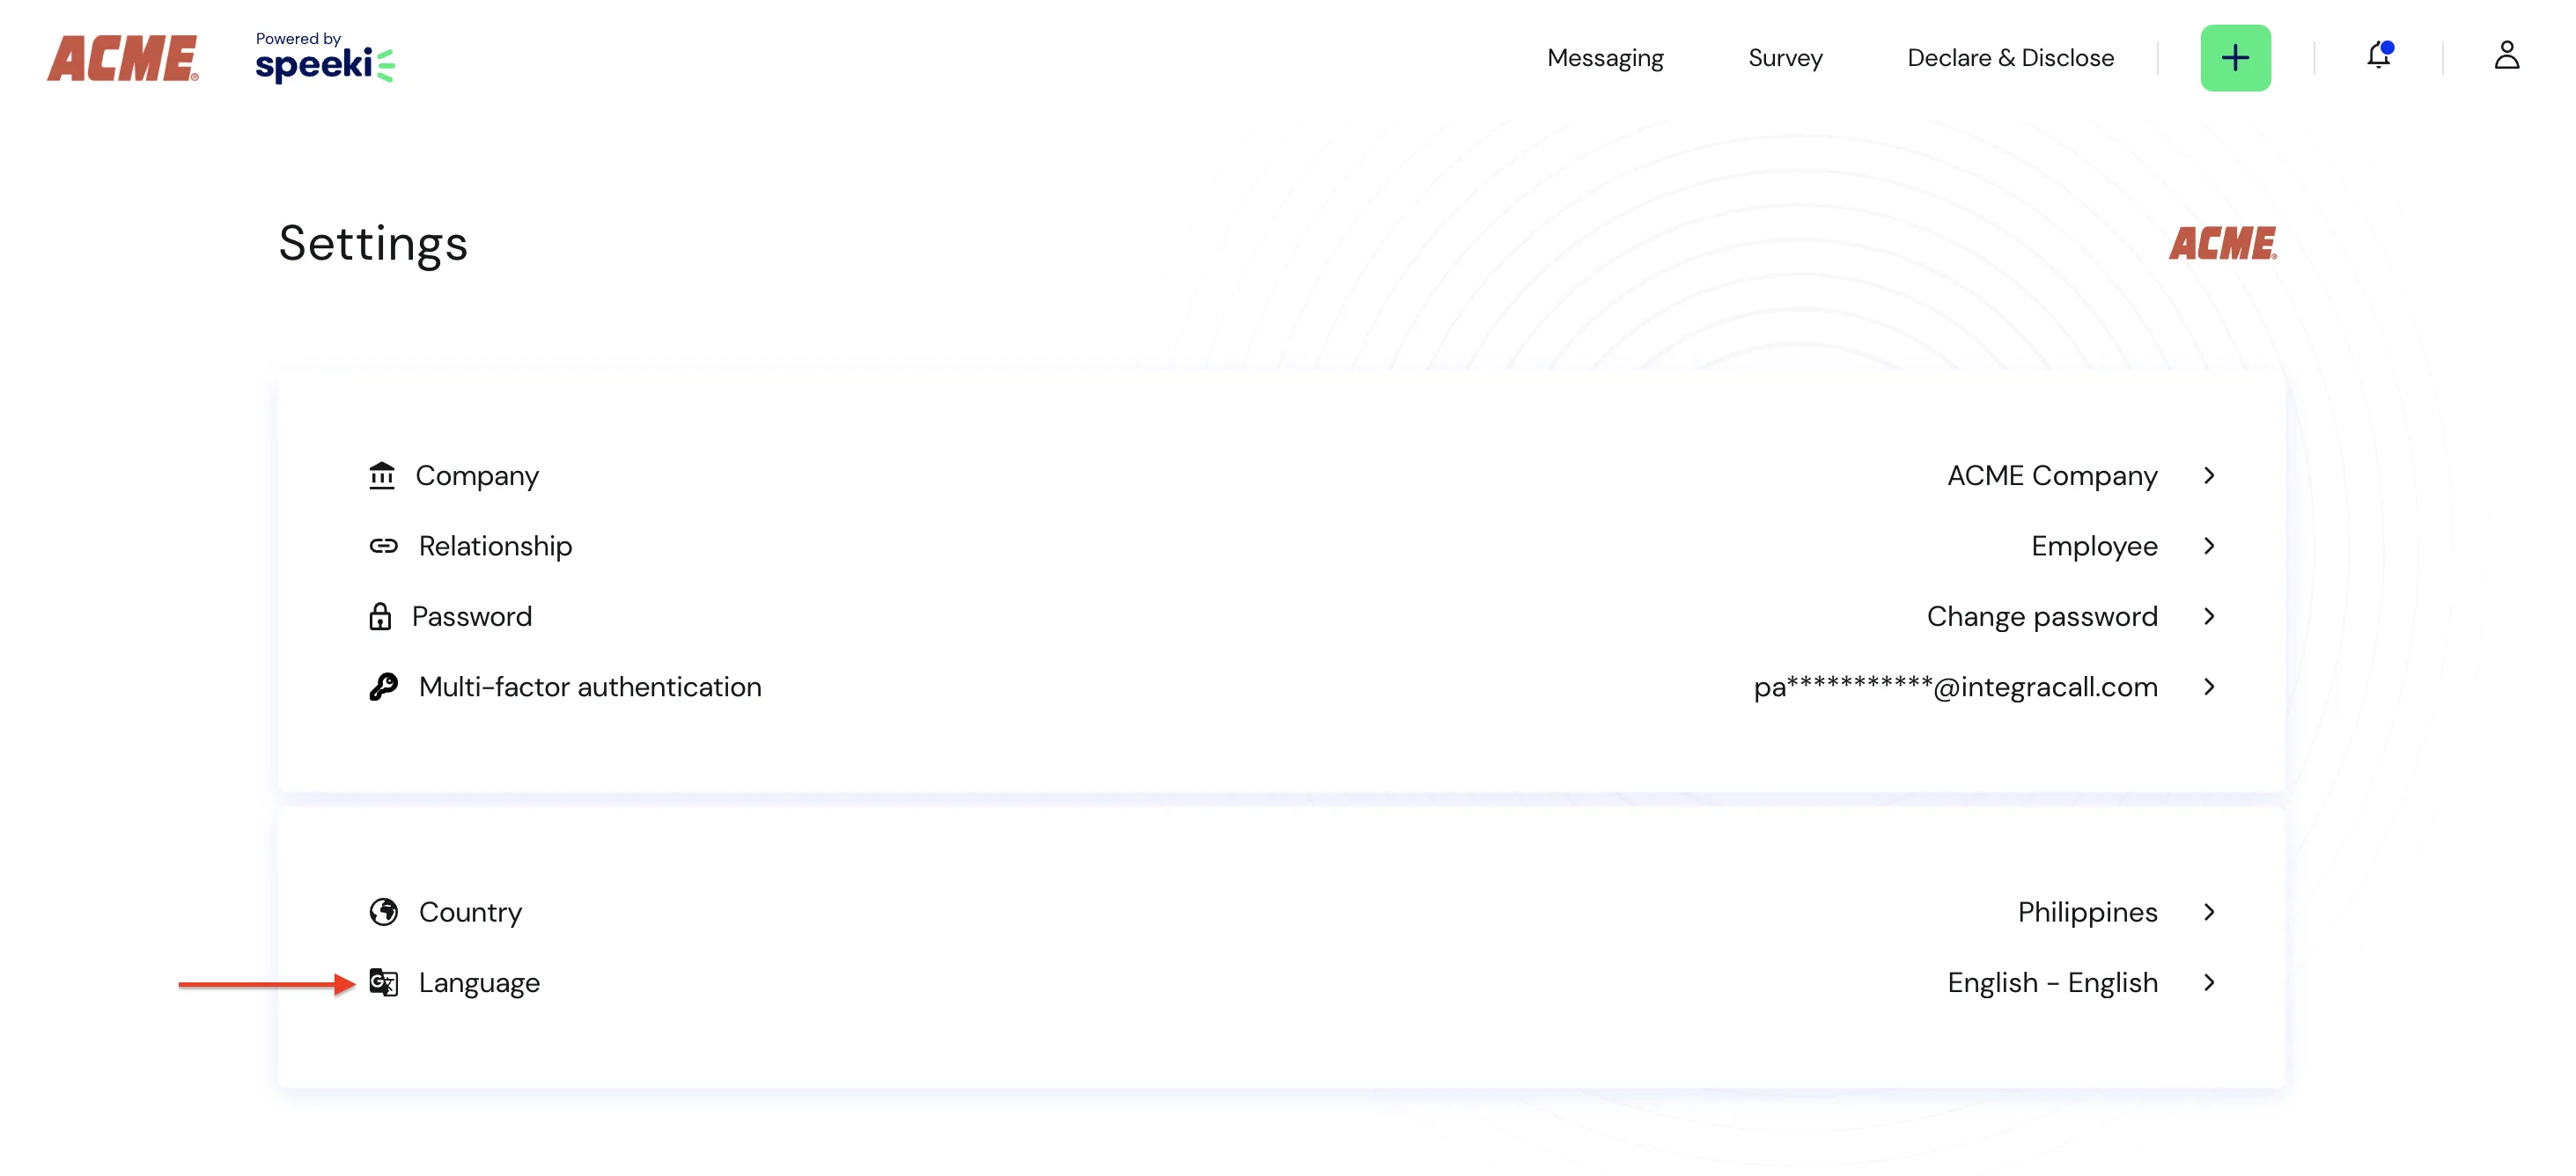
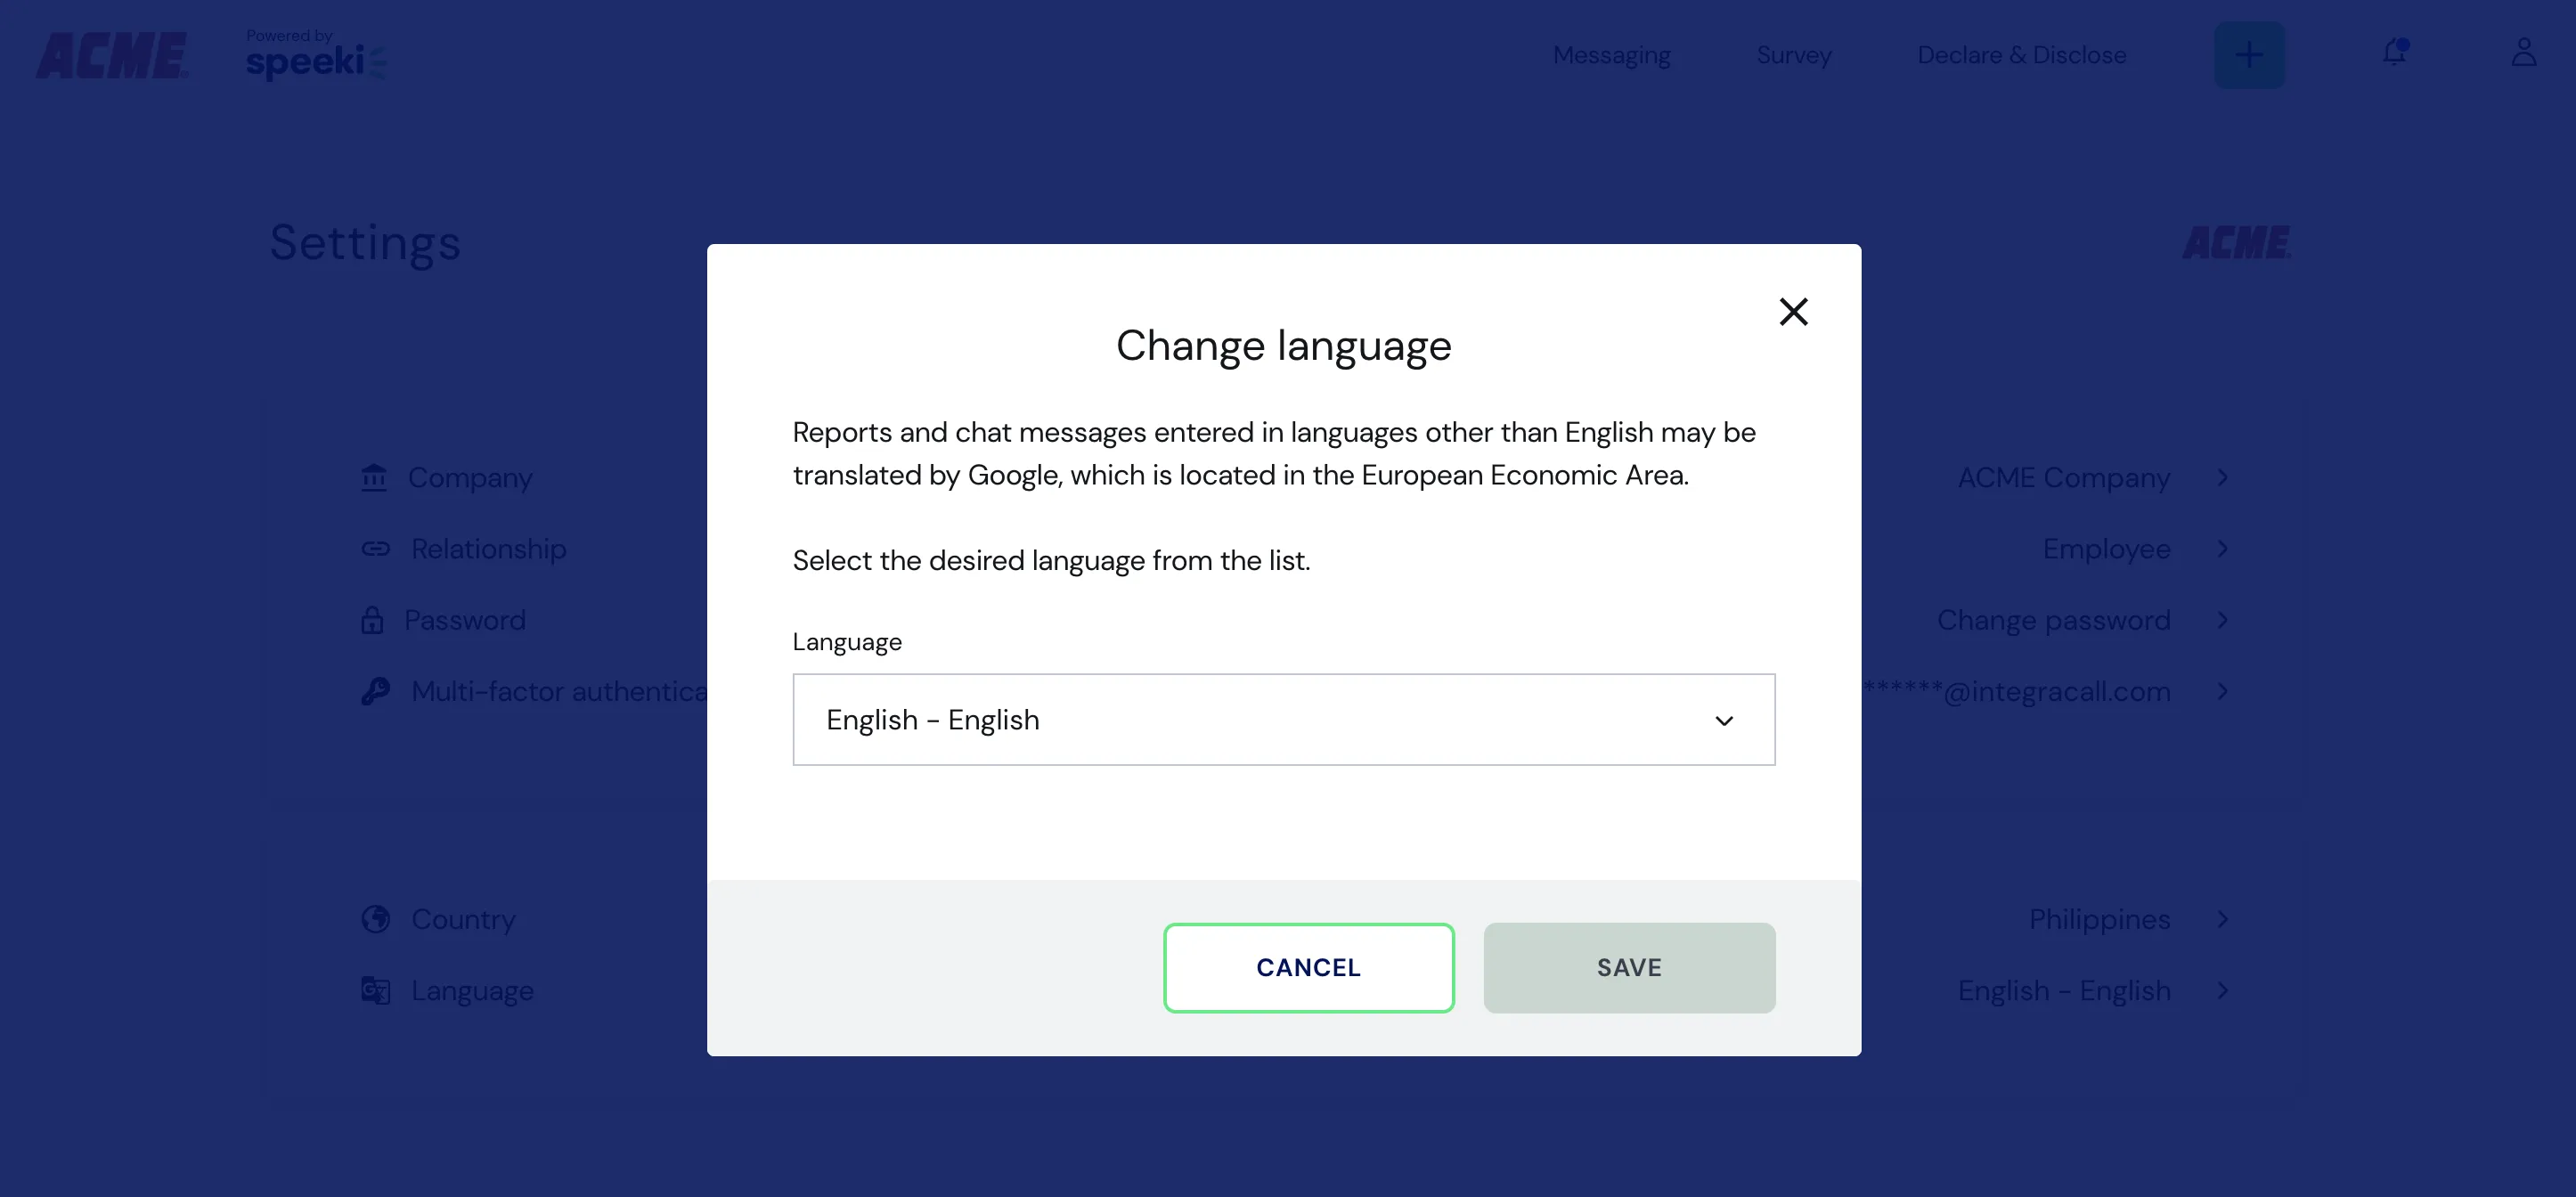
Changing your language
To change the default language of your Speeki service, click on the Language button on the ‘Settings’ page to bring up the ‘Change language’ screen. Select the desired language from the Language list and click SAVE.
Multi-factor Authentication
If your company required you to have multi-factor authentication and you enabled it upon sign up, you can change your secondary email address by clicking Multi-factor authentication in 'Settings' page. It will bring up the 'MFA: Additional security verification' screen, click Edit icon then enter your new secondary email and click SAVE.